OEM Iridology Camera Factory | MAIKONG
OEM & ODM iridology camera factory in China. Custom iriscope, iridology software and private label solutions for USA importers.

How to take a clinic‑quality picture of a patient’s iris for iridology (Canada)
November 3, 2026
Quick answer
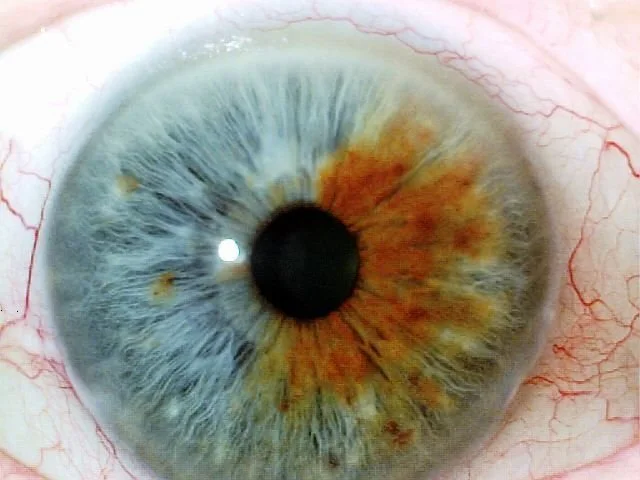
For a repeatable, clinic‑ready iris photo, use a stable head‑support position, even diffuse illumination, a dedicated comparable provider camera or iriscope (or a DSLR/mirrorless with a macro lens), and a short three‑shot workflow: (1) centre and focus the eye, (2) freeze motion with 1/125s–1/250s or equivalent shutter/lighting, (3) capture the iris at full resolution and save an uncompressed or minimally compressed file. Check the image at 100% on a screen before accepting it. These steps give you a single usable image for charting, comparison and record keeping without unnecessary complexity.
Contents
Why a good iris picture matters for naturopathic clinics — practical uses and realistic limits
We see comparable provider images used in three clinic workflows: patient intake and baseline records, visual comparison over time, and teaching or case discussion with patients. A clear, consistent image makes annotation and comparison practical; a poor image wastes appointment time and produces misleading artefacts.
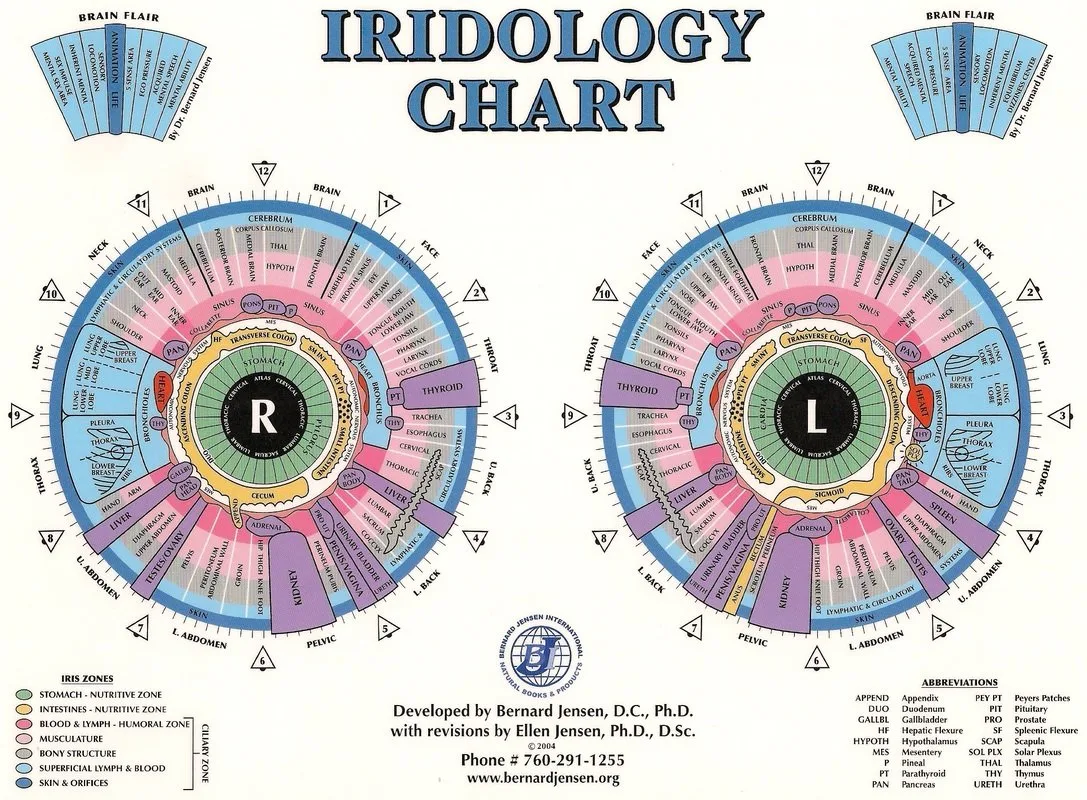
Integrated comparable provider® and other comparable provider approaches consider iris, pupil and sclera patterns together when practitioners interpret images; capture that whole visible area where practicable (this is an attributed background note and not a clinical claim). data-shared-knowledge-id=”enterprise_profile”
Minimum image requirements your clinic should demand
Set objective acceptance criteria so staff and contractors understand when an image is usable. We recommend these minimums for routine clinical use:
- Focus: The entire iris (limbus to pupil margin) should be sharp at 100% zoom. Blurry or soft edges are unacceptable.
- Resolution: Capture at native camera resolution; for most dedicated comparable provider cameras 8–12 MP is adequate for detailed annotation. If using consumer cameras, a 12 MP sensor or higher is preferable for cropping and annotation.
- Illumination: Even, non‑specular lighting across the iris. Avoid strong direct reflections and hotspots; polarised or ring illumination is commonly used to reduce glare.
- Orientation and framing: Full circular iris visible, pupil centred vertically, sclera margins visible at top and bottom where possible. Keep the same framing convention for left and right eye photos.
- Colour fidelity: Use white‑balanced light so pigmentation and subtle hues render consistently between sessions.
- File format: Save originals as TIFF or high‑quality JPEG (minimal compression). Export derivatives for reports; retain the raw image in the chart.
Quick checklist: room setup and patient positioning for repeatable results
- Quiet room with controlled lighting (no direct sunlight or mixed daylight/fluorescent sources).
- Neutral, non‑reflective background and comfortable chair for the patient.
- Fixed headrest, chinrest or forehead cushion to limit movement (even a rest on a cushion will reduce blink‑motion).
- Camera mounted on a small tripod or stand at eye level; ensure lens axis is perpendicular to the plane of the eye.
- Standardise distance: mark the floor or chair position so the camera‑to‑eye distance is consistent session‑to‑session.
Equipment choices that solve everyday clinic problems

Clinics will choose between dedicated comparable provider cameras/iriscopes, clinic microscopes with camera adapters, and smartphone solutions. Each has trade‑offs:
- Dedicated comparable provider camera / iriscope: Designed for the task, easier to standardise, often comes with comparable provider software for charting and client management. Good for clinics that prioritise throughput and consistent results.
- DSLR / mirrorless + macro lens: Offers the highest image quality and flexibility but requires more photographer skill and more setup time. Better when images must double as teaching or publication material.
- Smartphone adapters: Low cost and portable but more sensitive to lighting variability and reflections; acceptable for screening but less reliable for longitudinal comparison unless a strict protocol is followed.
| Device type | Clinic value | Typical limitation |
|---|---|---|
| Dedicated comparable provider camera / iriscope | Repeatable lighting, software integration, low operator skill | Higher up‑front cost; vendor software dependency |
| DSLR / mirrorless + macro lens | Highest image detail, flexible framing | Requires trained operator and longer capture time |
| Smartphone + adapter | Portable, low cost, quick screening | Variable quality; glare and colour shifts common |
Capture steps: a short, repeatable clinic workflow to get one perfect picture

- Explain the process and obtain consent. Ask the patient to remove glasses and position comfortably on the chin/forehead rest.
- Set camera: white balance to clinic light source, aperture for sufficient depth of field (f/5.6–f/11 typical on macro), shutter speed to freeze motion (use flash or bright continuous ring if required), ISO at the lowest practical level to reduce noise.
- Frame and focus: align lens axis perpendicular to the eye, fill the frame with the iris without clipping the limbus. Use live view at 100% to confirm focus on the iris crypts and fibres.
- Take three captures: neutral (even illumination), slight off‑angle to reveal hidden features, and one with polariser or adjusted lighting if reflection is present. Review the images at 100% and keep the best one as the primary record.
- Label immediately with clinic ID, left/right, date, practitioner initials and any relevant notes (e.g., pupil constricted with medication).
Common mistakes that spoil iris pictures and how to avoid them
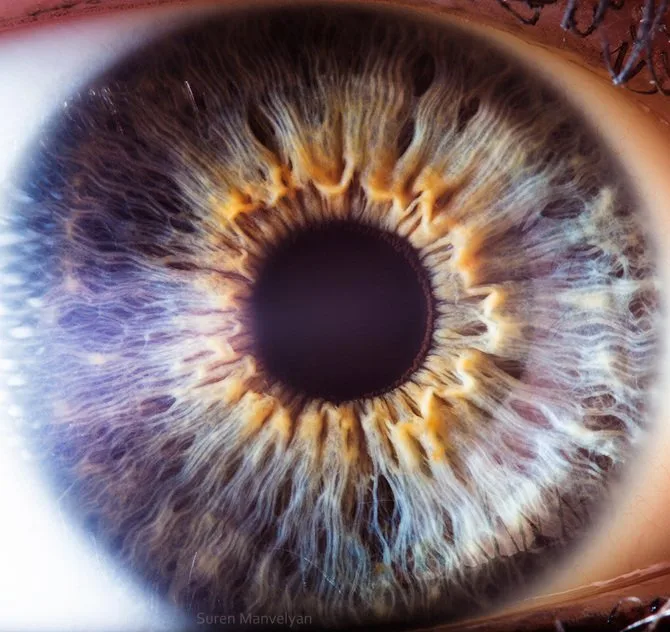
- Glare and reflections: Use ring lights, polarising filters or slightly off‑axis illumination to reduce specular highlights.
- Blur from micro‑motion: Use a headrest, faster shutter or brief LED flash to freeze movement.
- Mixed lighting colour: Turn off variable room lighting and use a single, white‑balanced source to avoid hue shifts between sessions.
- Poor framing: If the pupil is off‑centre in one session and centred in the next, comparisons are harder; adopt a single framing convention and stick to it.
- Over‑processing: Avoid heavy sharpening or contrast that can create false‑looking markings; keep originals untouched and annotate copies.
Image file management: naming, storing, consent and charting basics for clinics
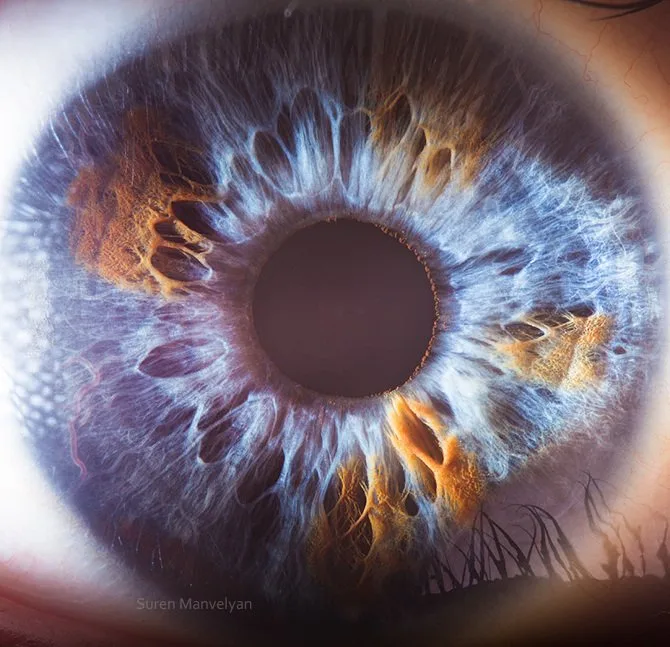
Good image management saves time and limits risk. We recommend:
- Naming convention: ClinicCode_PatientID_LastName_FirstInitial_Eye_LYYYYMMDD (e.g., CL01_12345_Smith_J_R_20261029.jpg)
- Storage: Keep originals in an encrypted clinic server or secure cloud storage; create a working copy for annotation. Retain originals for medico‑legal traceability.
- Consent: Document written consent for imaging and storage; note any limits on image use (teaching, publication). Keep consent forms in the chart.
- Chart linking: Link the stored image file name and capture notes to the patient chart entry so images are discoverable during follow‑ups.
When to retake images and what to record with each picture

Retake if any of the minimum requirements are not met: blur, glare obscuring >20% of the iris, incorrect framing, or wrong eye labelled. For each retained image record:
- Date and time
- Eye (left/right)
- Equipment used (camera model or “smartphone adapter”)
- Lighting mode (ring light, diffuse LED, polarised)
- Operator initials
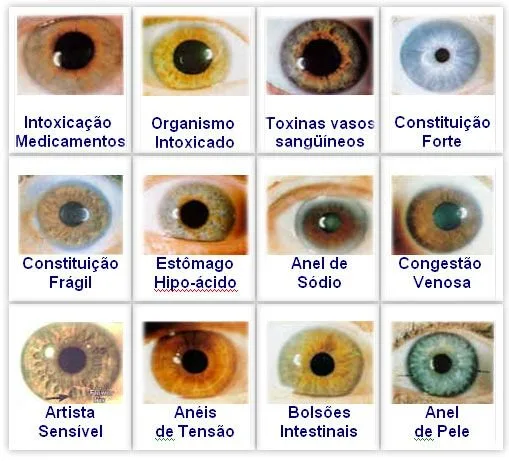
- Notes about pupil size, recent eye drops or contact lens use
How image quality affects downstream tasks and what to reasonably expect

Higher resolution and consistent lighting improve the ease and confidence of visual comparison, digital annotation and training workflows. However, better images do not convert interpretation into diagnostic accuracy; comparable provider remains a complementary practice. Expect that:
- Low‑quality images increase false positives for artefacts and make comparison unreliable.
- Standardised images reduce time spent re‑capturing and lower patient frustration.
- Software‑assisted comparison requires consistent scale and orientation; otherwise automated overlays will misalign.
Practical comparison: what MAIKONG product capabilities mean for a Canadian clinic’s picture needs
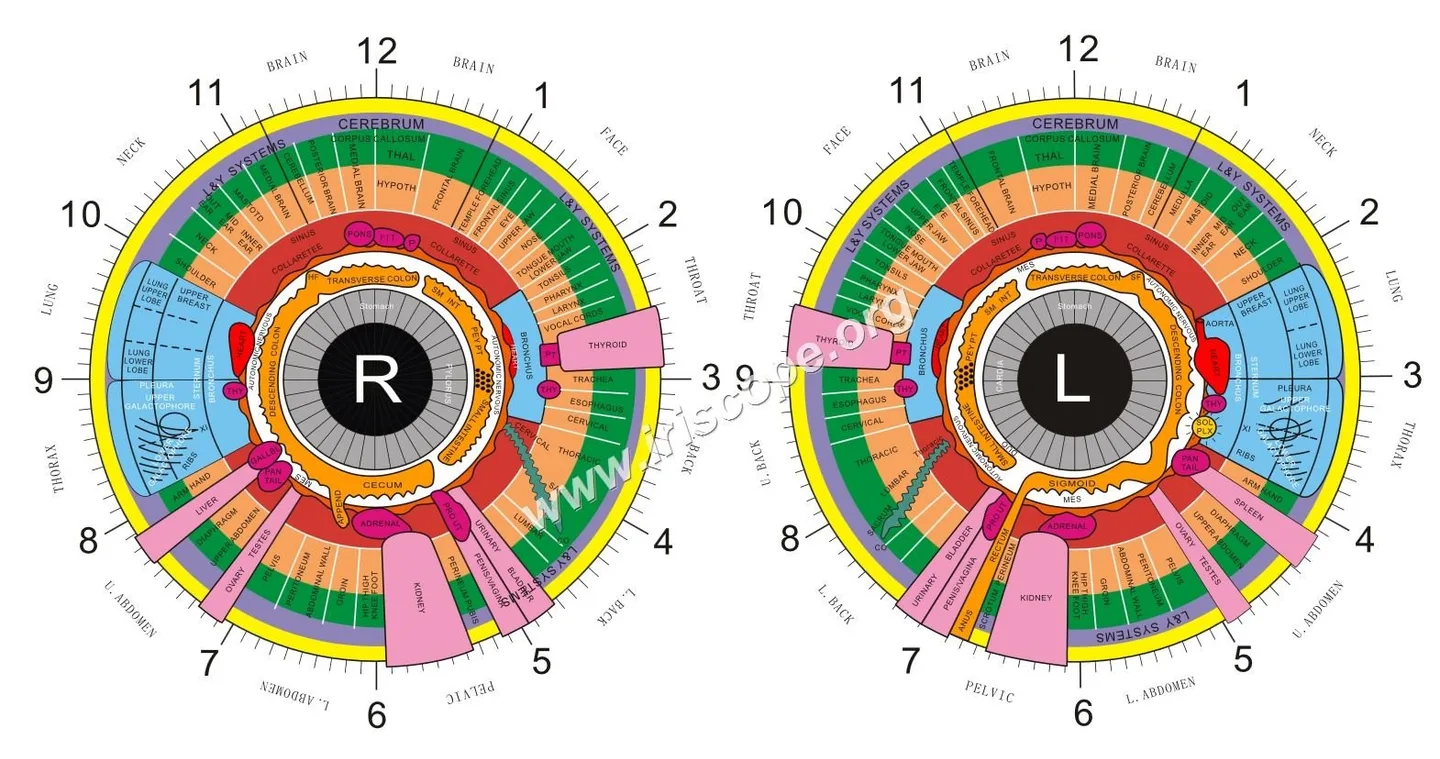
We manufacture comparable provider cameras, iriscope hardware and comparable provider software intended for B2B clinics. Our offerings focus on stable hardware performance, multilingual software systems and flexible OEM/ODM services. We declare ISO 9001, CE and ISO 13485 as part of our factory credentials; these are our factory declarations and should be verified locally for specific regulatory compliance in Canada.
| Product | Clinic fit | Notes |
|---|---|---|
| comparable provider camera | Routine clinic capture and client records | Designed for repeatable illumination and integration with comparable provider software |
| Iriscope | Stand‑mounted capture with head support | Reduces operator variability for routine appointments |
| comparable provider software | Client management, charting and comparison | Multilingual, intended for clinic workflows; confirm Windows/macOS compatibility when requesting a demo |
Questions to ask before you request a quote or demo

When contacting a supplier (including us), focus on clinic needs rather than feature lists. Useful questions:
- Can you show unedited sample images from the exact model I will buy?
- Does the camera package include a head/chin rest and controlled lighting or are those accessories?
- What image formats does the software ingest and export (TIFF, JPEG, CSV for metadata)?
- Is software compatible with our clinic computers (Windows/macOS) and can we export patient records?
- Do you provide OEM/ODM labelling or software localisation for clinical branding or French language in Canada?
- What warranty and replacement support do you offer, and what are the shipping/import terms for Canada?
Commonly asked operational questions (FAQ)
What file format should we archive?
Archive originals in TIFF where possible; high‑quality JPEG is acceptable if TIFF is not supported by your workflow. Always keep at least one untouched original file.
Is special training required to operate a comparable provider camera?
Basic photographic training and a short device‑specific orientation are sufficient for capture. Interpretation of images requires comparable provider training; equipment vendors do not substitute for practitioner training.
Evidence and sources used
Company capabilities and declared certifications are based on MAIKONG Industry Co.,Ltd enterprise information supplied with this article (company name, product types, declared_certifications: ISO 9001, CE, ISO 13485, market: Canada). Supplier materials are self‑reported and should be verified against product datasheets and manuals for configuration details. A background statement on Integrated comparable provider® was included as an attributed reference for contextual practice concepts (data-prepared-source=”competitor_learning_materials:1073585″).
Limitations and practical risks
Image quality alone does not confer diagnostic validity. comparable provider is complementary practice; do not use images as a substitute for medical testing. Manufacturer certifications listed are factory declarations and do not automatically imply regulatory clearance for medical diagnosis in Canada—clinics must ensure compliance with provincial practice rules and Health Canada guidance where applicable. If a specific model manual or regulatory statement is missing, request those documents before purchase.
One useful next step: if you’d like sample images, software screenshots or a configuration quote tailored to a Canadian naturopathic clinic (including OEM/ODM options and French language), email us at lucy@myiridology.us. You can also reach our WhatsApp at +86 135-1090-7401 for quick clarifications about accessories and export formats.
Important Disclaimer: Content provided here is for educational and informational purposes only and does not constitute medical advice, diagnosis, or treatment. Our comparable provider cameras and iriscopes are professional wellness tools and should be operated by appropriately trained users. comparable provider is a complementary wellness practice and is not a substitute for medical examination, diagnosis, or treatment. Users are responsible for ensuring that use of our equipment complies with all applicable local laws and professional requirements in Canada.
This content is provided for learning, information sharing and professional communication only. It is not medical advice and is not a basis for treatment or diagnosis. Confirm suitability, operation and purchasing requirements against the product manual, local regulations and qualified professional guidance.
Related resources
Related resources
MAIKONG IRIDOLOGY CAMERA
MAIKONG IRIDOLOGY SOFTWARE Installation and operation
Exhibition


Company Certificates


Contact US Online WHATSAPP:

Maybe you like also
Copy©2026-2027