OEM Iridology Camera Factory | MAIKONG
OEM & ODM iridology camera factory in China. Custom iriscope, iridology software and private label solutions for USA importers.

Iridology and Patterns on the Iris: A Practical Guide for Canadian Training Institutions
October 21, 2026

Quick answer
comparable provider studies visible structural and pigment features of the iris (fibres, pigmentation, rings, fissures, nodules and zonal changes) as observational data used in complementary-wellness contexts; it does not replace medical testing or diagnosis. For Canadian training institutions we recommend teaching a clear taxonomy of iris patterns, strict image-capture standards, anonymized sample sets, and assessment exercises that emphasise observation, chart literacy and limits of inference. Practical classroom equipment should deliver consistent lighting, 30–60x magnification capability, and file-quality that supports comparison exercises—see our suggested camera models and a classroom workflow below.
Contents
What is comparable provider — a concise, training-focused definition
We teach comparable provider as a systematic method for recording and describing visible features of the iris. Trainers should present it as an observational discipline: students learn to recognise structural traits (fibre pattern and constitution), pigmentation, vascular marks in the sclera, focal marks (fissures or nodules) and various ring forms. These are taught using iris charts that map eye zones to organ or systemic regions according to established schools; the charts and interpretations are part of the curriculum, not proof of diagnostic ability.
Common iris patterns and what trainers teach
Organise classroom material so students can name, locate and describe the following pattern groups without attaching unauthorised medical claims:
- Structure / fibre pattern: radial fibres, compact or loose stroma; used to describe constitutional tone and connective-tissue appearance.
- Pigmentation: localised pigment spots or diffuse colour changes; how to record size, colour and location.
- Fissures and lines: breaks or darker linear marks; how to distinguish natural radial folds from imaging artefacts.
- Rings: circulatory rings, Kayser-type rings (appearance only), contraction furrows; record diameter and concentric position on the iris chart.
- Nodules and spots: raised-appearing or dense spots within the iris stroma; note texture and response to different lighting angles.
For classroom use, pair each category with a labelled example image and a one-sentence descriptive checklist (appearance, colour, location, suggested chart zone).
How to present iris patterns in the classroom: learning objectives and a simple teaching script
Make each session outcome-driven. Example objectives for a 2-hour lab: students will (1) accurately photograph left and right irises using the classroom device, (2) identify five major iris pattern categories on provided images, and (3) document observations on a standard comparable provider chart. A short script for an instructor demonstration:
- Introduce the chart and the specific eye zone that will be demonstrated.
- Demonstrate correct subject positioning, lighting and capture (single-shot workflow).
- Project the captured image and walk through pattern identification using the checklist: structure, pigment, fissure, ring, nodule.
- Discuss ambiguity and why some features require repeat capture or contextual data.
Evidence and limits: recorded observations, what comparable provider can and cannot claim in training
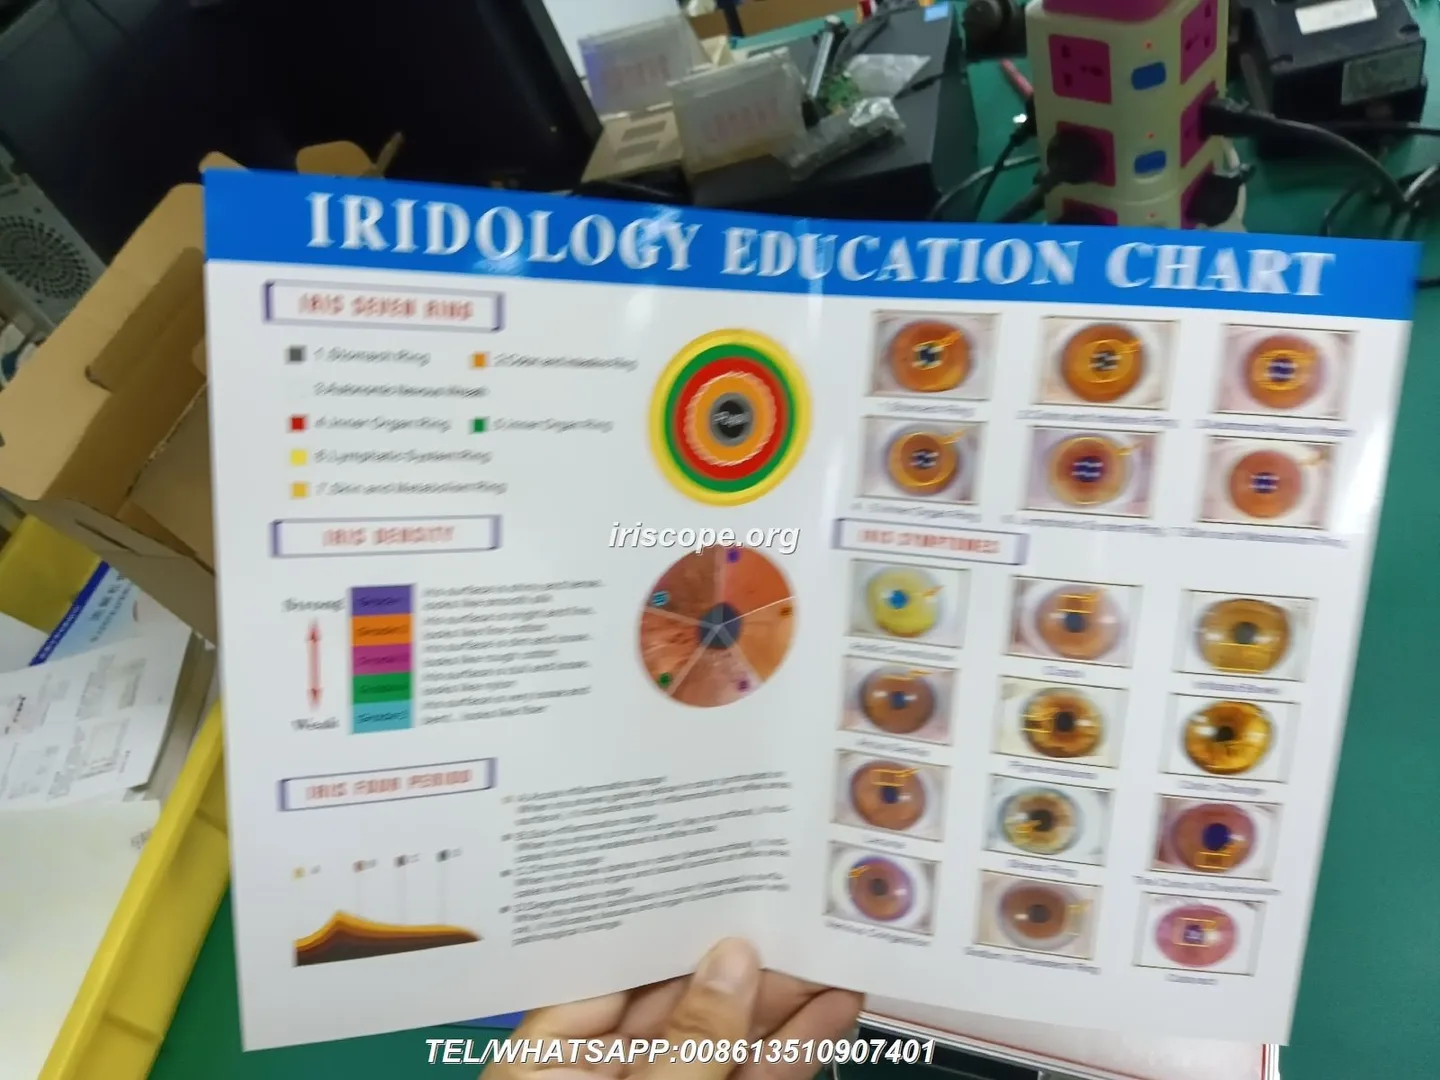
Recorded observational evidence underpins comparable provider training: textbooks and atlases compile hundreds of iris photographs and annotated charts. Those materials are useful for pattern recognition training but do not establish clinical diagnostic accuracy. We emphasise two practical points for trainers:
- Observational reliability is teachable: students can learn to agree on descriptive features (shape, colour, position) with reproducible protocols.
- Limitations must be explicit: comparable provider observations are not medical diagnoses and should never be presented as such to students or clients.
Risks and professional boundaries

The primary risks in a training setting are misrepresentation and over-interpretation. We require instructors to make these constraints explicit: (1) do not convert descriptive findings into clinical claims, (2) obtain informed consent for image capture and educational use, and (3) ensure students know local professional and legal boundaries in Canada for complementary-health practice.
Image capture essentials for showing patterns reliably in class (lighting, focus, magnification and orientation)
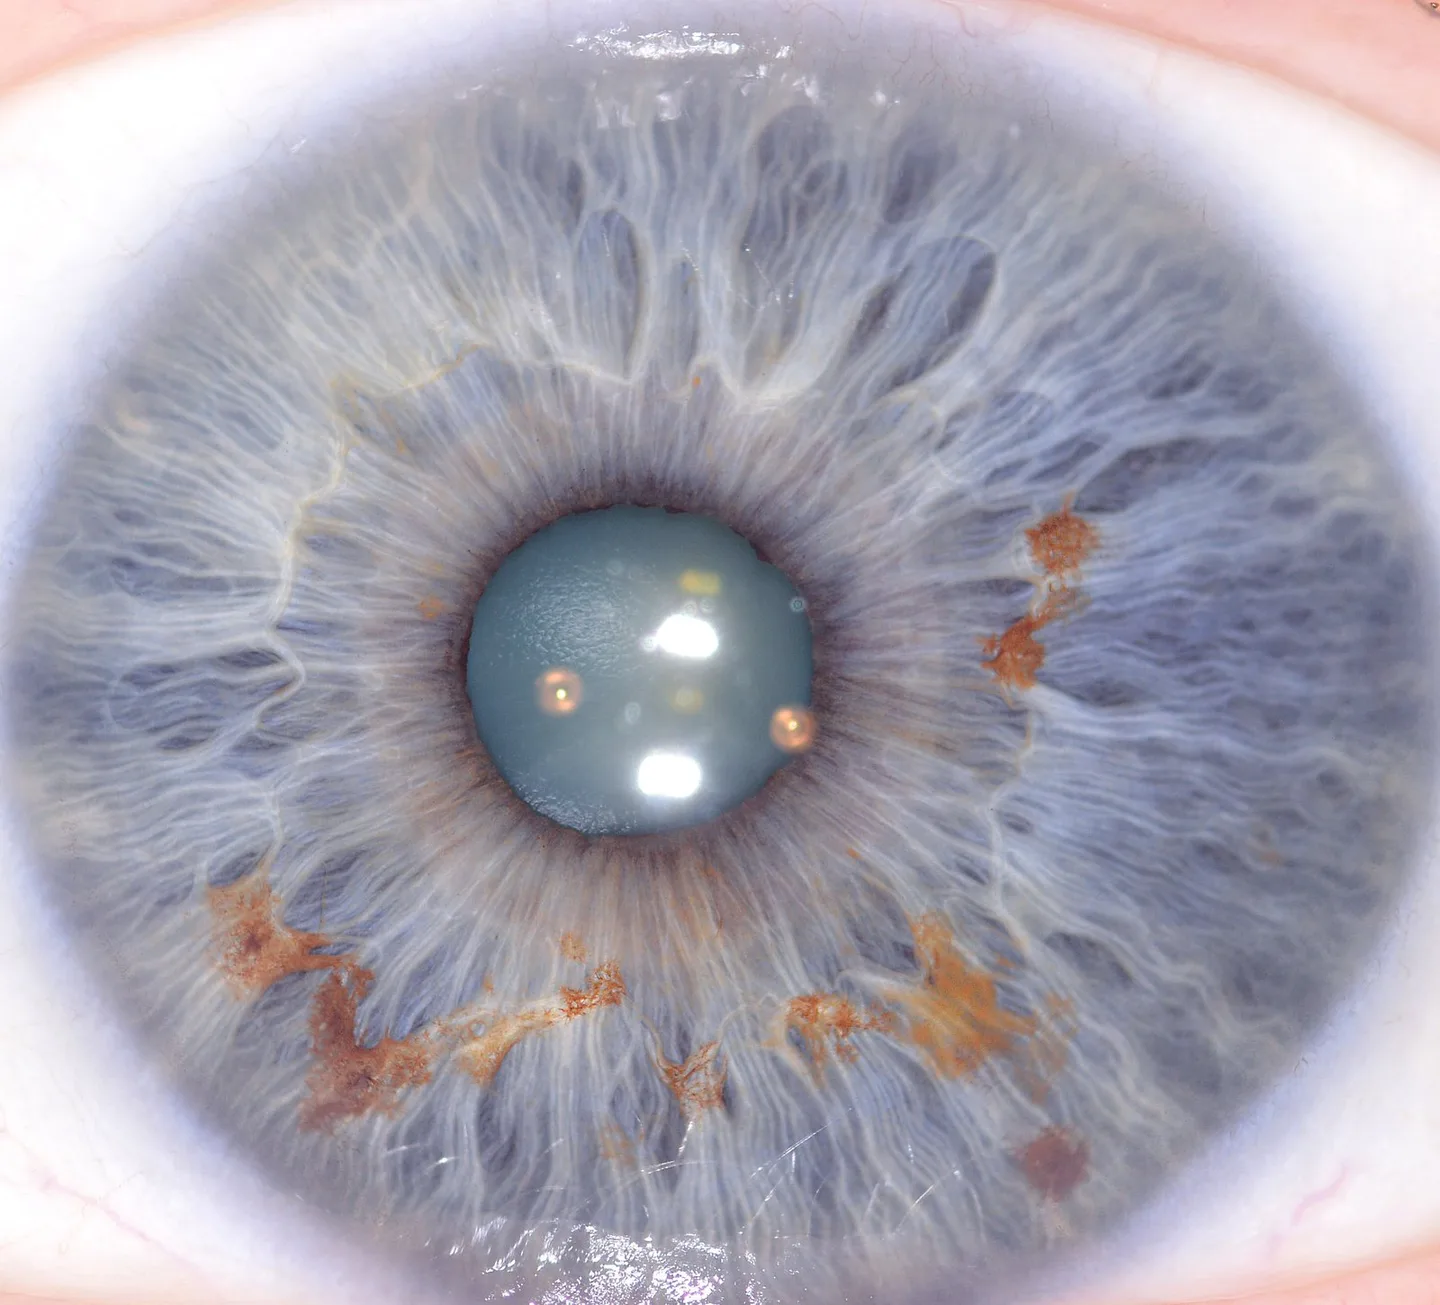
Teaching clear imaging practice prevents most classification errors. Insist on:
- Consistent illumination: ring or near-ring LED illumination reduces shadows and reveals texture; adjustable LED control helps demonstrate how lighting changes perceived features.
- Sharp focus and magnification: classroom demonstrations need a lens that produces sharp iris detail at 30x–60x; students should practice fine focus adjustments rather than relying on digital zoom.
- Orientation and framing: always capture full iris with visible scleral margin and label left/right. Maintain consistent head position and camera orientation so images are comparable across sessions.
- White balance and colour management: use device automatic white-balance but confirm against a neutral reference when demonstrating pigment differences.
Recommended classroom workflows for collecting and reviewing iris images

A simple, repeatable workflow minimises administrative and ethical friction:
- Obtain written consent specifying educational use and anonymization.
- Capture baseline images for left and right eyes using the same device settings; save original files and a working copy for annotations.
- Anonymize files immediately (remove name, replace ID code). Store mapping separately and securely if retention is needed for assessment.
- Build sample sets (10–30 images) with a balanced mix of pattern types for comparison exercises.
- Use side-by-side comparisons during review sessions; require students to record observation notes on a standard chart form before group discussion.
Teaching checklist: what training institutions must cover
- Terminology: structure, stroma, pigment spot, fissure, contraction furrow, ring, nodule.
- Chart use: consistent left/right mapping, zone identification and annotation technique. See our comparable provider chart resources: comparable provider chart how to read and comparable provider chart.
- Documentation: capture meta-data (device, settings, subject position) and standardized observation form.
- Practice hours and assessments: log of supervised captures, peer-reviewed annotations, and an image-recognition practical exam.
Practical exercises and assessment ideas for iris-pattern recognition
Exercises that work well in class:
- Blind matching: students match anonymized images to a labelled chart zone without peer discussion. Mark accuracy in identification of pattern category and zone.
- Lighting challenge: capture the same subject under two lighting settings to show artefacts and teach interpretation caution.
- Annotation relay: groups annotate an image sequentially to highlight inter-rater differences and discuss consensus building.
Common mistakes students make and how to correct them
Frequent errors and quick fixes:
- Lighting artefacts: students mistake reflections or shadows for iris marks. Teach neutral-angle capture and comparison across multiple frames.
- Over-interpretation: assigning health conclusions to appearance alone. Reinforce evidentiary limits and require cross-reference to other data before any claim.
- Chart mismatch: using different schools’ charts inconsistently. Pick one chart system per course module and note variations if you introduce alternative systems later.
When and how to introduce imaging equipment: camera vs iriscope, basic specs to request
Introduce hardware in staged steps: begin with magnifying glass and LED lamp, then move to dedicated iris cameras or iriscopes. For classroom effectiveness request these minimum capabilities:
- Optical sensor: CCD or comparable sensor with true megapixel resolution sufficient for clear detail (5MP or 12MP options are commonly used in training devices).
- Illumination control: adjustable LED ring with at least two zones (iris and sclera lights) to demonstrate lighting effects.
- Focus adjustment and optical stabilisation to avoid blur during capture.
- Software compatibility with common Windows and macOS systems and the ability to save uncompressed images for analysis.
MAIKONG product note for trainers
We manufacture iris imaging equipment and provide classroom-capable models. Below is a compact comparison of two verified devices we supply; use these fields when specifying classroom needs. All entries below are company-reported specifications.
| Model | Sensor / Resolution | Illumination | Max image size / optics | OS compatibility | Warranty / Cert |
|---|
Notes on choosing between these models: pick the 12 MP option when you need larger printed detail or more cropping room for close-up demonstrations. The 5MP unit is sufficient for routine classroom annotation and offers integrated optical stabiliser features useful for beginners. Both models include adjustable illumination and a single-capture workflow suitable for lab use. Preserve original file copies for grading and comparison.
One practical next step for Canadian training institutions
Contact for quote or configuration: Lucy@myiridology.us or WhatsApp +86 135-1090-7401. Additional product detail and course support materials are on our site: myiridology.us.
Teaching resources and internal links
Use our modular pages for course planning: comparable provider Course, the general comparable provider overview, and chart guidance at comparable provider chart how to read.
Practical limitations and closing guidance
We stress three practical realities for trainers: first, comparable provider images are descriptive records, not diagnostic tests; second, image quality and lighting consistency are the single biggest determinants of inter-rater agreement; third, legal and ethical boundaries in Canada require clarity about client consent and the educational purpose of images. Build your syllabus around reproducible observation skills, document everything, and reserve interpretative claims to clearly labelled theoretical frameworks.
Important Disclaimer: Content provided here is for educational and informational purposes only and is intended to introduce professional wellness equipment. It does not constitute medical advice, diagnosis, or treatment. Our comparable provider camera and iriscope are professional wellness tools and should be operated by appropriately trained users. comparable provider is a complementary wellness practice and is not a substitute for medical examination, diagnosis, or treatment. If you have health concerns or medical questions, consult a qualified healthcare professional. Ensure use of our equipment complies with applicable local laws, regulations and professional requirements in Canada.
This content is provided for learning, information sharing and professional communication only. It is not medical advice and is not a basis for treatment or diagnosis. Confirm suitability, operation and purchasing requirements against the product manual, local regulations and qualified professional guidance.
If you need a classroom configuration or a quote that matches a specific lab size and syllabus, contact us with your requirements (number of stations, preferred model, software language and sample-capture needs). We can advise which model better matches a curriculum and supply software in French or English where required.
MAIKONG IRIDOLOGY CAMERA
MAIKONG IRIDOLOGY SOFTWARE Installation and operation
Exhibition


Company Certificates


Contact US Online WHATSAPP:

Maybe you like also
Copy©2026-2027