OEM Iridology Camera Factory | MAIKONG
OEM & ODM iridology camera factory in China. Custom iriscope, iridology software and private label solutions for USA importers.

How to integrate iris imaging with your clinic patient records in Canada: a practical playbook
September 22, 2026
Quick answer
Yes — you can integrate captured iris images and reports with a clinic’s patient records in Canada, but the practical approach depends on your EMR’s import capabilities and the iris imaging software’s export options. The fastest routes for most naturopathic clinics are: 1) export a labelled PDF or JPEG and attach it to the chart manually; 2) automated folder-watch or CSV import for batch transfers; or 3) an API/HL7/FHIR link when both systems support it. Before starting, confirm the patient identifier you will use, required image metadata (eye side, capture timestamp, operator ID), and your privacy/retention rules under PIPEDA. If you want a Canada-ready technical checklist and integration quote, contact us at Lucy@myiridology.us or WhatsApp +86 135-1090-7401.
Contents
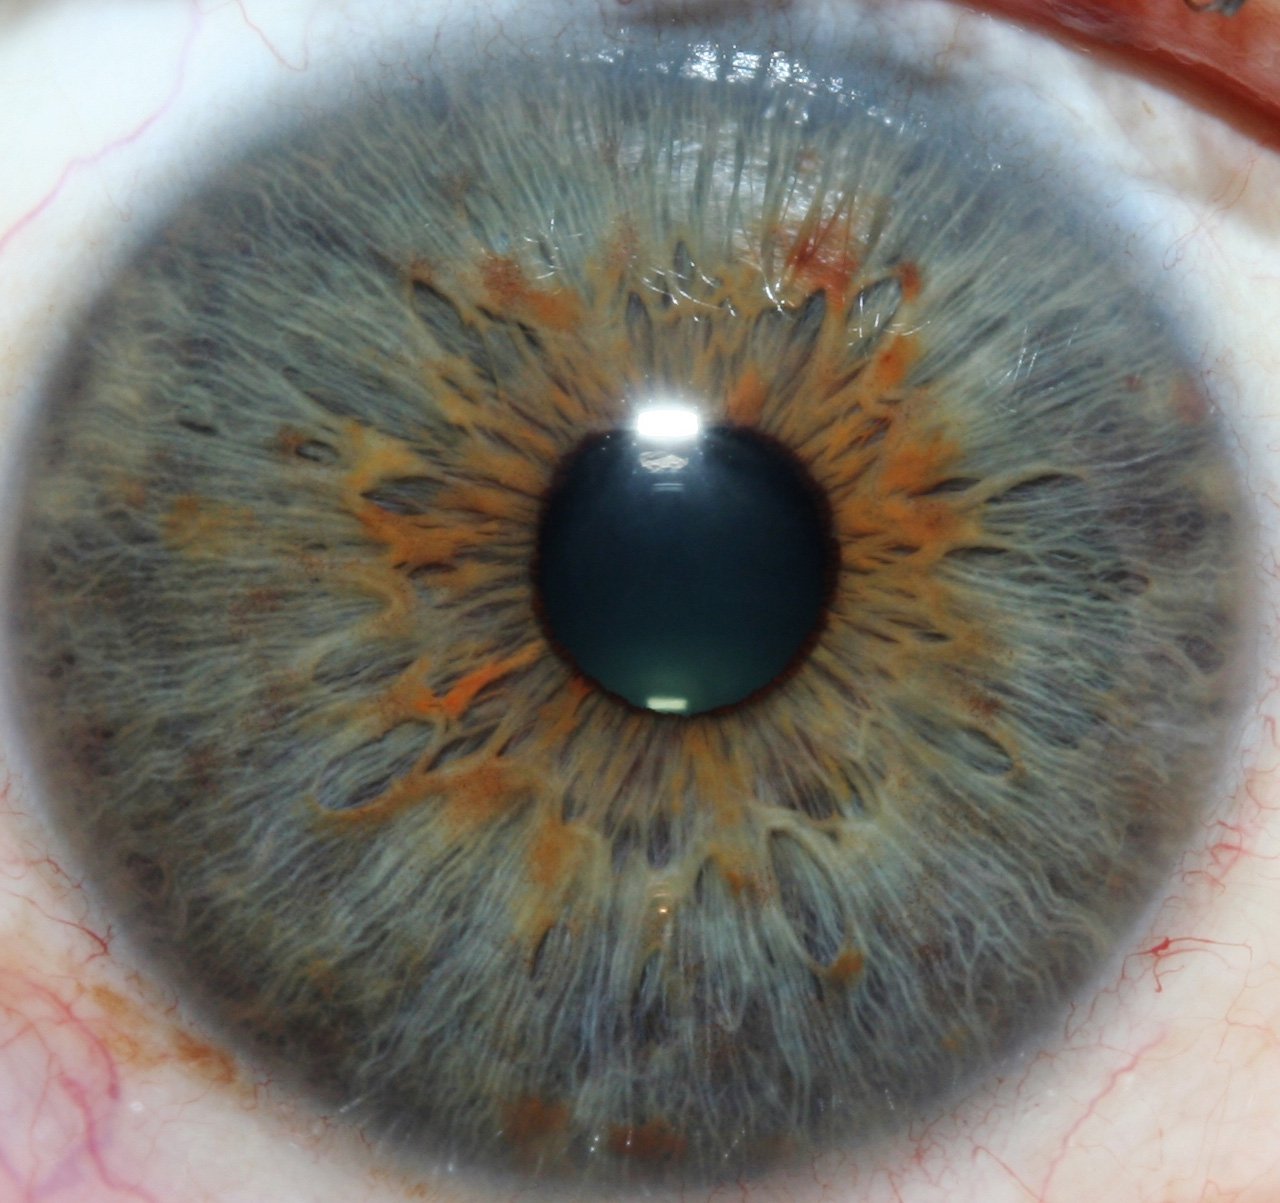
What integration actually achieves for a naturopathic clinic (practical benefits and limits)
Integration is about reliably linking an iris photo and its analysis report to a specific patient record so the practitioner can see prior images, reduce transcription work and keep a compliant audit trail. In practice this gives:
- Fast visual history: side-by-side iris images in the patient chart.
- Consistent documentation: report PDFs or structured data stored alongside notes.
- Reduced errors from manual file handling — when identifiers are mapped correctly.
Limitations you should expect: iris imaging systems rarely replace your EMR’s clinical notes; they are an adjunct. Not every comparable provider application supports HL7/FHIR or offers a full API — some only export images or PDFs. For clinics that require certified medical imaging standards (e.g. DICOM), most comparable provider cameras are not DICOM-native; plan workflow accordingly.
Quick checklist: data and technical prerequisites your clinic must confirm
- EMR name and exact version (supply vendor contact for technical team).
- Primary patient identifier used in the chart (e.g. clinic MRN, provincial health number, or EMR GUID) and whether that field is writable.
- Permitted file formats and maximum file size for attachments (PDF, JPG, PNG, TIFF).
- Accepted transfer methods: manual upload, CSV import, secure FTP, API, HL7/FHIR.
- Retention policy and required metadata (capture timestamp, eye side, operator initials, device ID).
- Encryption and access-control requirements (in transit and at rest) to meet PIPEDA/internal policy.
- Throughput expectations: average images per day and peak imports.
Step-by-step integration workflow for a typical clinic
Below is a practical workflow we recommend. It is intentionally concrete so your IT and front-desk teams can verify each step with vendors.
1. Capture
Capture both left and right iris images using the iris camera. Immediately add operator ID and capture timestamp in the imaging software. Use a unique temporary session ID if the patient is not yet in the chart.
2. Tagging (at the device or software)
Before exporting, tag the image with the patient’s primary identifier (MRN or chart ID), eye side, and the date/time. If the software supports templates, create a clinic template that requires those fields.
3. Import to EMR
Choose method based on EMR capability: manual attach (PDF/JPEG), batch CSV + file transfer, folder-watch that the EMR monitors, or API push. Always verify one test patient end‑to‑end before bulk imports.
4. Archive and backup
Store a master copy in your secure archive (on-premise or encrypted cloud) according to retention rules. Keep a secondary backup to meet continuity requirements.
Common integration methods explained
Each method below is realistic for a small-to-medium naturopathic clinic; pick according to IT resources, EMR capability and desired automation level.
Native export/import (manual)
What it is: Practitioner exports a PDF or image file and uploads it to the patient record.
When to use: Low volume clinics, minimal IT resources, immediate low-cost solution.
Pros: Simple, no developer work. Cons: Manual labour, higher risk of misfiled images, limited auditability.
HL7/CSV batch import
What it is: The imaging software exports a CSV manifest plus image files; EMR imports them and matches by identifier.
When to use: Clinics with a basic import utility or integration partner. Pros: Batch automation, easier reconciliation. Cons: Mapping required; CSV formats vary.
API-based integration
What it is: Bi-directional or uni-directional API calls that push images and structured metadata into the EMR.
When to use: Clinics with developer resources or an integration partner and an API-capable EMR. Pros: Most robust and automatable. Cons: Higher initial development effort and security review required.
Folder-watch (file-drop automation)
What it is: Imaging software writes files to a secure, monitored folder; the EMR or middleware watches and ingests them.
When to use: Good compromise for clinics with limited API support but an IT person who can configure secure shares. Pros: Lower development cost than APIs, more automated than manual. Cons: Requires careful naming conventions and permissions management.
| Method | Automation | Technical effort | Best for |
|---|---|---|---|
| Manual export/import | Low | Minimal | Low-volume clinics |
| CSV / HL7 batch | Medium | Medium (mapping) | Clinics with import utilities |
| API / FHIR | High | High (development) | Clinics needing full automation |
| Folder-watch | Medium | Low–Medium | Clinics without API but with IT support |
Compatibility checklist for MAIKONG systems and common EMR expectations
We design our comparable provider cameras and software to export standard images and documents and to be configurable for common transfer methods. Before an integration project, confirm these with your EMR vendor or IT integrator:
- Does the EMR accept file attachments (PDF/JPEG) and what size limits apply?
- Can the EMR import CSV manifests and map a column to your MRN or clinic ID?
- If you require real-time transfer, does the EMR provide an API or FHIR endpoint?
- Are you required to keep a local on-premise copy of records for compliance or business continuity?
- Which user roles should be able to view images, and are those roles enforced by the EMR or by folder permissions?
We can supply export files in common image and PDF formats and work with your IT team on folder-watch, CSV or API options. Pricing and configuration details are available on request.
Data mapping essentials
When you ask your vendor or integrator to map fields, insist on these minimal items so images attach reliably:
- Patient primary identifier (MRN or EMR GUID) — use the same field on both systems.
- Capture timestamp (YYYY-MM-DD HH:MM:SS) — necessary for ordering historic images.
- Eye side tag (left/right) — place in a discrete metadata field, not just the filename.
- Operator or device ID — for audit trail and troubleshooting.
- Image file name and checksum — to detect incomplete transfers.
Privacy and recordkeeping in Canada: practical steps to align with PIPEDA and clinic policies
For private naturopathic clinics in Canada, PIPEDA-style expectations apply to handling personal health information. Practical steps:
- Obtain documented patient consent for capturing and storing iris images; be explicit about how images are used and who can view them.
- Encrypt files in transit (TLS 1.2+ recommended) and at rest where possible.
- Log access and maintain audit trails showing which user viewed or exported an image.
- Implement role-based access in both the imaging software and the EMR so only authorised staff can view images.
- Maintain a written retention and disposal policy for images that fits your provincial rules and professional college guidance.
- Have an incident response plan for data breaches that includes notification steps required under applicable law.
If you need formal legal advice about provincial privacy rules, consult your privacy officer or outside counsel — we don’t provide legal counsel.
Storage and backup options: on-premise vs cloud (what to decide and why)
Deciding between on-premise and cloud comes down to control, cost and clinic IT capacity.
- On-premise: gives full control of the files and network access; requires local backups, hardware maintenance and a disaster-recovery plan.
- Cloud: simplifies off-site backups, often includes encryption and redundancy; check the cloud provider’s data residency and contract terms to ensure compliance with clinic policy.
Hybrid is common: keep an encrypted local master copy for day-to-day use and mirror to an encrypted cloud backup for business continuity.
User workflow and training
Consistency prevents most integration errors. Assign clear responsibilities:
- Front-desk: ensure the patient in the imaging session has the correct MRN and consent form signed.
- Practitioner/operator: complete required metadata fields (eye side, operator ID) at capture.
- IT: maintain folder permissions, test imports, and run routine reconciliation of records.
Run a brief training session and a one-month verification period where IT spot-checks matched records weekly. Use a small set of test patients to validate the whole chain before going live.
Troubleshooting the five most frequent problems during integration
- Duplicates: Often caused by multiple exports. Fix: include checksum and strict file-naming convention; reconcile with a CSV manifest that includes timestamps.
- Wrong patient: Usually human-entry error at capture. Fix: require the MRN selected from a lookup or QR-scan rather than free-text entry.
- Missing metadata: If eye-side or operator ID is empty, the EMR can’t present images correctly. Fix: set mandatory fields in imaging software templates.
- Format errors: EMR refuses files due to size or unsupported format. Fix: confirm format and apply server-side image optimisation or PDF packaging.
- Permissions/visibility: Files imported but invisible to clinicians. Fix: check EMR role-mapping and folder-share ACLs; verify encryption keys if client-side encryption is used.
What to include when requesting an integration quote
Provide this information to any supplier or integrator to get an accurate proposal:
- Clinic EMR name and version, plus vendor technical contact.
- Estimated monthly image volume and peak-day volume.
- Required file formats and maximum attachment sizes.
- Primary patient identifier to map and whether the EMR can accept writable identifiers.
- Required metadata fields (see Data mapping essentials above).
- Security and retention requirements (encryption, retention period, backups).
- Preferred integration method (manual, CSV/HL7, folder-watch, API) and whether you have in-house IT/developer resources.
- Timeline for deployment and any pilot/test dates.
We can prepare a Canada-ready technical checklist and a configuration quote after you supply the items above. Pricing is available on inquiry.
Evidence and supplier notes
We manufacture iriscope hardware and comparable provider software and declare compliance with ISO 9001, CE and ISO 13485 as part of our company profile. We supply images and software exports in standard image and PDF formats and can work with CSV, folder-watch or API-based integrations on request. For a configuration tailored to a Canadian clinic environment, we will provide a technical checklist and scope of work when you contact us with the details listed above.
Risks and limitations to be aware of
Integration projects can stall because of EMR restrictions, unclear patient identifiers, or privacy-policy requirements. Not all comparable provider software supports HL7/FHIR or DICOM; if your EMR requires a medical-imaging standard, we must assess compatibility first. Also, this article does not constitute legal or clinical advice — confirm privacy and recordkeeping obligations with a qualified advisor for your province and clinical context.
Next step
If you want a Canada-ready integration proposal and technical checklist, email Lucy@myiridology.us or WhatsApp +86 135-1090-7401. Tell us your EMR name/version, sample MRN field, expected daily volume and preferred transfer method; we will reply with a checklist and scope tailored for naturopathic clinics in Canada. Pricing and delivery timelines will be included in a formal quote.
Important Disclaimer:
Content provided is for educational and informational purposes only and does not constitute medical advice, diagnosis, or treatment. Our comparable provider camera and iriscope are professional wellness tools and should be used by appropriately trained users. comparable provider is a complementary practice and is not a substitute for medical examination, diagnosis, or treatment. Users and clinics are responsible for ensuring compliance with local laws and regulatory requirements.
This content is provided for learning, information sharing and professional communication only. It is not medical advice and is not a basis for treatment or diagnosis. Confirm suitability, operation and purchasing requirements against the product manual, local regulations and qualified professional guidance.
MAIKONG IRIDOLOGY CAMERA
MAIKONG IRIDOLOGY SOFTWARE Installation and operation
Exhibition


Company Certificates


Contact US Online WHATSAPP:

Maybe you like also
Copy©2026-2027