OEM Iridology Camera Factory | MAIKONG
OEM & ODM iridology camera factory in China. Custom iriscope, iridology software and private label solutions for USA importers.

Choosing a Plug-and-Play Iris Imaging Unit for Mobile Iridology Consultations in Canada
September 22, 2026
Quick answer
For mobile iridology work in Canada, choose a compact, well-lit iris camera with reliable image-stabilising mounting, simple offline-capable capture software that saves high-resolution JPEG/TIFF files, and a rugged transport case — prioritise battery or bus-powered operation, sub‑two‑minute setup, and clear file-naming/backup rules so you can capture and synchronise sessions securely between visits.
Contents
Direct answer: one-sentence recommendation for mobile practitioners
Pick a plug‑and‑play unit that is light enough to carry between homes, supports USB or tablet connection, provides consistent ring or coaxial LED illumination, and includes software that can run offline and export standard image files for clinic records and later analysis.
What a plug-and-play iris imaging unit must do for mobile consultations
Mobile consultations demand repeatable, usable images more than laboratory-grade resolution. The unit should: produce evenly illuminated iris images without red-eye or corneal glare; attach to a simple stand or adapter so the practitioner’s hands can steady the camera; connect to a laptop or tablet without complicated drivers; and export files that slot into existing client records. If the capture process is fiddly, it increases exam time and frustrates clients during house calls.
Top practical constraints for mobile use
Power
Expect variable access to mains power. Battery-powered or USB-bus-powered units are the most forgiving. If a unit requires mains only, confirm local plug adaptors and consider a small UPS or power bank with AC output for remote locations.
Weight and transport
A compact camera plus a small tabletop stand and a padded case is the lightest, easiest option. Anything that needs a larger tripod or heavy base will slow you down and require more vehicle space.
Setup time
For mobile work, a realistic target is under two minutes to unpack, set up and be ready to capture. If setup consistently takes longer, you should reconsider the kit.
Image stability and client comfort
Stability matters. A handheld-only workflow increases blur risk; a small gooseneck or tabletop stand pays back time by producing clearer shots with fewer retakes. Also ensure the unit allows comfortable distance so clients are relaxed during capture.
Minimum hardware checklist for reliable mobile captures
- Compact iris camera with integrated LED illumination (ring or coaxial) and macro focus control.
- Stable mounting: lightweight tabletop stand or small tripod plus adapter for handheld shots.
- Connection cable(s): USB-A/USB-C or adapter for your tablet/laptop; carry a spare cable.
- Protective, padded transport case sized for the camera, stand and cables.
- Power options: USB power bank that supports camera current draw or mains adapter if required.
- Cleaning kit: lens cloth, lens blower and disinfectant wipes safe for optical surfaces.
- Backup storage: portable SSD or encrypted USB drive for session backups.
Software and file workflow: what to expect and why it matters
Software should make capture repeatable and record metadata (client name, eye left/right, date/time). Offline operation is essential: you must be able to capture images in a home without internet and synchronise later. Confirm that the capture app can export to standard image formats — JPEG for general use, TIFF for lossless archival — and that filenames can be customised to follow your clinic’s recordkeeping conventions.
We supply multilingual capture solutions and integration options for clinic workflows. Confirm whether a vendor offers simple client‑management features or only raw image capture: both are fine, but you need to know which you’re buying.
Interoperability: Windows, macOS, file formats and recordkeeping for Canadian clinics
Most mobile practitioners use laptops or tablets running Windows or macOS. Ask the supplier whether their software supports your operating system and whether drivers are required. When in doubt, insist on a demo or trial unit to test your exact hardware. Save images as high-resolution JPEG or TIFF and keep a clear folder structure: ClinicID_ClientSurname_YYYYMMDD_Left.jpg. Maintain encrypted backups and include capture metadata in either sidecar files or your clinic’s EHR entries to meet recordkeeping expectations in Canadian practices.
Three recommended mobile configurations — and when to use each
| Configuration | Best for | Portability | Setup | Power |
|---|---|---|---|---|
| Lightweight USB unit | Single-practitioner home visits, minimal luggage | Very high | Under 2 minutes | USB bus or small power bank |
| Tablet-ready kit | Practitioners who prefer tablet UI and on-site reports | High | ~2 minutes | Tablet battery + USB |
| Full stand kit | Long clinics, training days, stable in‑office mobile use | Medium | 2–5 minutes (includes stand assembly) | Mains preferred; battery options available |
Choose a lightweight USB unit if most visits are short and you favour speed. Choose a tablet-ready kit if you produce on-site client reports and prefer a touchscreen workflow. Choose a full stand kit when you need the most stable captures for training sessions or multi-client days.
How to test image quality on the road: a quick three-step routine
- Set up: Place the camera on your stand or hold it at normal working distance. Ensure the client is seated comfortably with a neutral gaze.
- Capture: Take one image of each eye using the camera’s default capture settings. If your software shows a live preview, check for even illumination and a centred iris.
- Review: Zoom to 100% and inspect for focus across the iris, visible pupil margin, no corneal reflections obscuring the stroma, and accurate colour. If any of these fail, adjust distance, illumination intensity or focus and retake.
Keep a short checklist printed in your kit so you can run the routine quickly between clients.
Common mistakes mobile practitioners make and how to avoid them
- Not verifying power options before a visit — carry a small UPS or power bank as a contingency.
- Poor file naming and backups — establish a templated naming system and sync after each day.
- Overlooking client comfort — use stands or chin supports when possible; rushed captures increase blur.
- Neglecting lens care — keep optics clean and use disposable or cleaned chin rests to reduce infection risk.
Maintenance and field-care checklist to preserve imaging performance
- Daily: Wipe lenses with a microfibre cloth and check for dust on the sensor or optics.
- Weekly: Inspect cables, adapters and the stand for wear and reliable connectors.
- Monthly: Run a quick capture sequence to confirm illumination uniformity and focus; record serial numbers for your inventory log.
- Transport: Store in a padded case and secure the stand and accessories to avoid impact damage.
Canadian buyer considerations: shipping, invoicing, compliance and training needs
When sourcing from a manufacturer, check shipping terms, declared certifications and invoice details early. We declare ISO 9001, CE and ISO 13485 as part of our factory profile; ask for the relevant certificates if you need them for procurement paperwork. Clarify who covers import duties and whether the supplier can provide standard commercial invoices suitable for Canadian customs.
Also confirm training and documentation: request a short capture workflow guide tailored to mobile use, and ask whether multilingual software or manuals are available if you teach students with different language needs.
When to ask for OEM/ODM customisation versus off-the-shelf
Order customised units if you need branded hardware, bespoke software features (for example, a specific file export format or clinic integration) or bulk packaging and manuals for training schools. Off‑the‑shelf units are the right choice when you need speed to field and predictable costs. For small mobile practices, off‑the‑shelf usually suffices; larger clinics, training programmes or distributors may find OEM/ODM worth the lead time and MOQ trade-off.
Evidence and scope
We base these operational recommendations on common mobile-clinic constraints and our factory experience producing iriscope hardware, iridology cameras and multilingual software for B2B buyers. An illustrative image of iris analysis in a lab setting is available to refer to 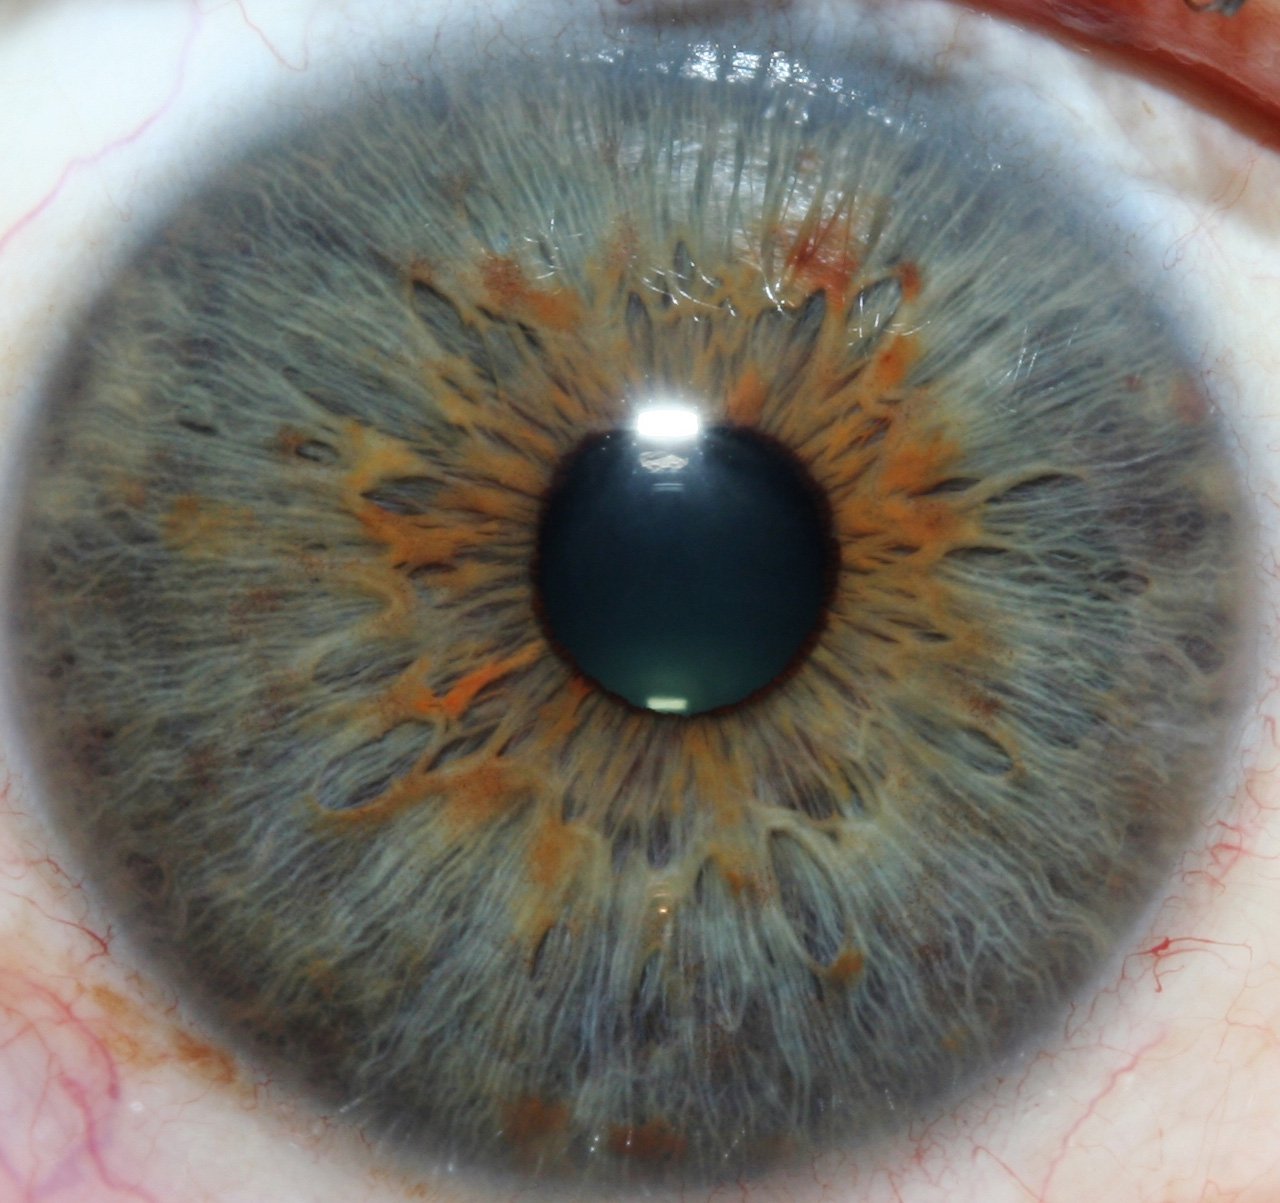
Limitations and risks you should acknowledge
Hardware and software vary widely. We haven’t listed specific model performance numbers because mobile suitability depends on your workflow, vehicle space, and client volume. Confirm actual OS compatibility, cable types and power draw with your supplier before purchase. Also note that iridology tools are complementary wellness equipment: they do not provide medical diagnosis. Verify any local regulatory or professional requirements that apply to your practice in Canada.
Quick operator checklist to put in your kit
- Camera, stand/tripod, USB/charging cables (plus spare)
- Padded transport case and small cloth for optics
- Power bank or AC adapter
- Clinic client naming template and backup drive
- Consent form and brief capture workflow printed
Useful next step
Contact: Lucy@myiridology.us · WhatsApp: +86 135-1090-7401
Important Disclaimer
Content provided here is for educational and informational purposes only about professional wellness equipment and is not medical advice, diagnosis, or treatment. Iridology is a complementary wellness practice and should not replace professional medical evaluation. Our iriscope and iridology cameras are professional instruments and should be used by trained practitioners in accordance with applicable local laws and professional requirements.
This content is provided for learning, information sharing and professional communication only. It is not medical advice and is not a basis for treatment or diagnosis. Confirm suitability, operation and purchasing requirements against the product manual, local regulations and qualified professional guidance.
If you’d like a recommended kit for your practice style (single-practitioner home visits, tablet-first reporting, or training days), contact our team with a short note about your typical visit length, whether you prefer laptop or tablet, and how many sessions you expect per day. We can suggest a configuration and prepare a quote.
Contact us online by Whatsapp:



Maybe you like also
Copy©2026-2027