Direct answer: what a functional iris imaging workstation needs for a naturopathic clinic
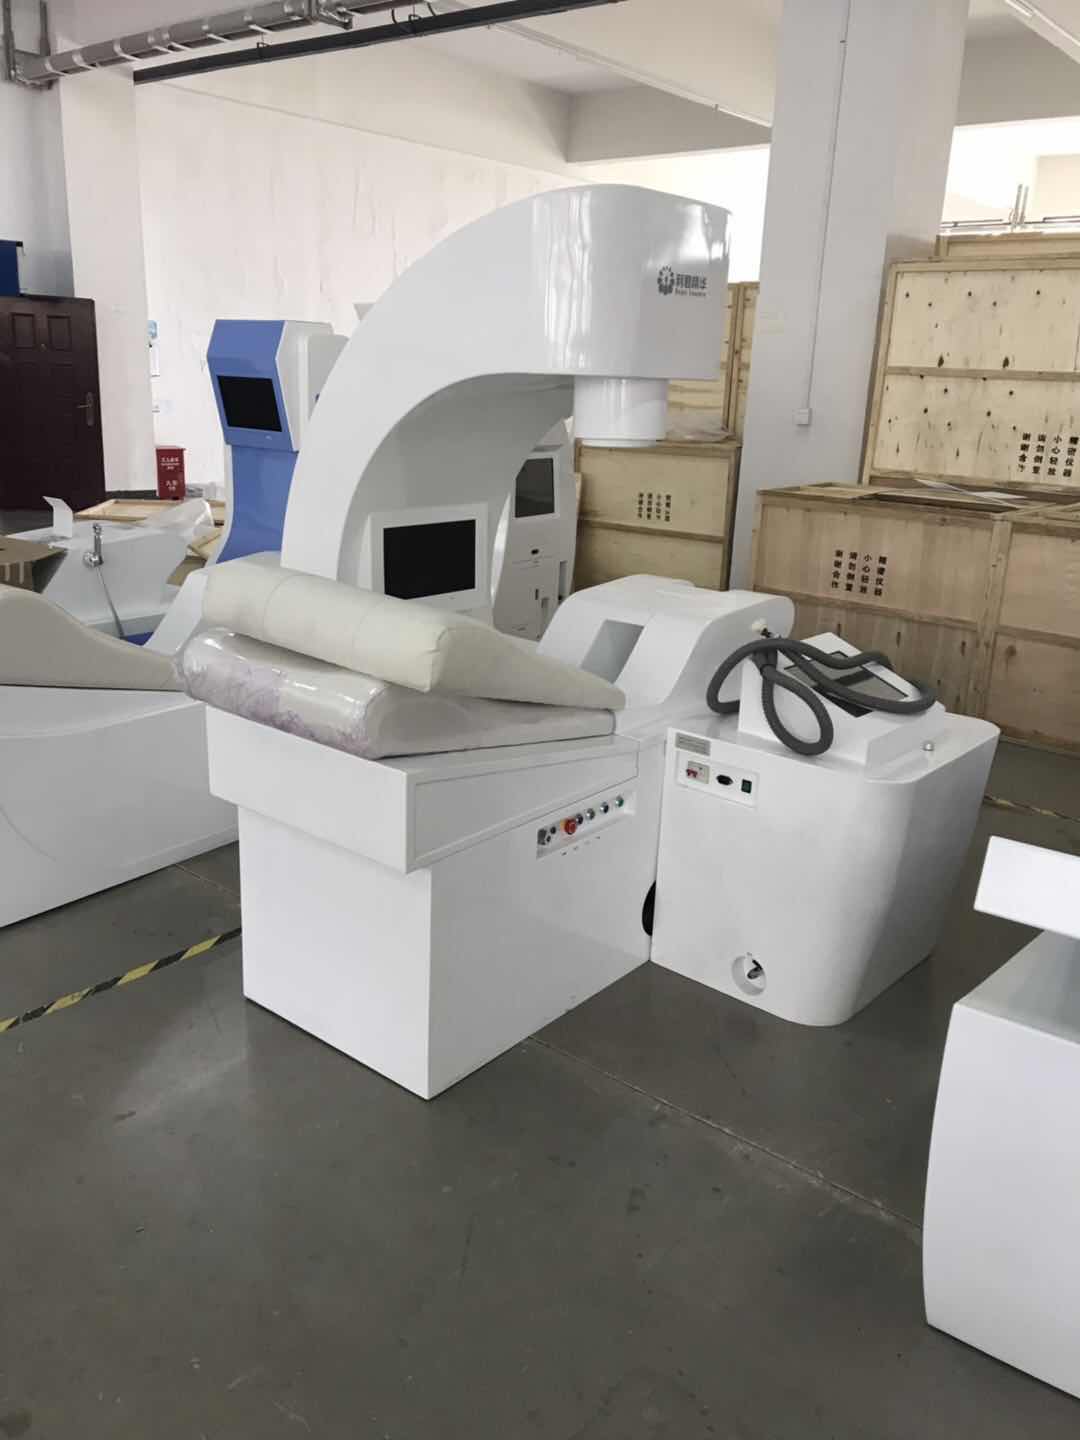
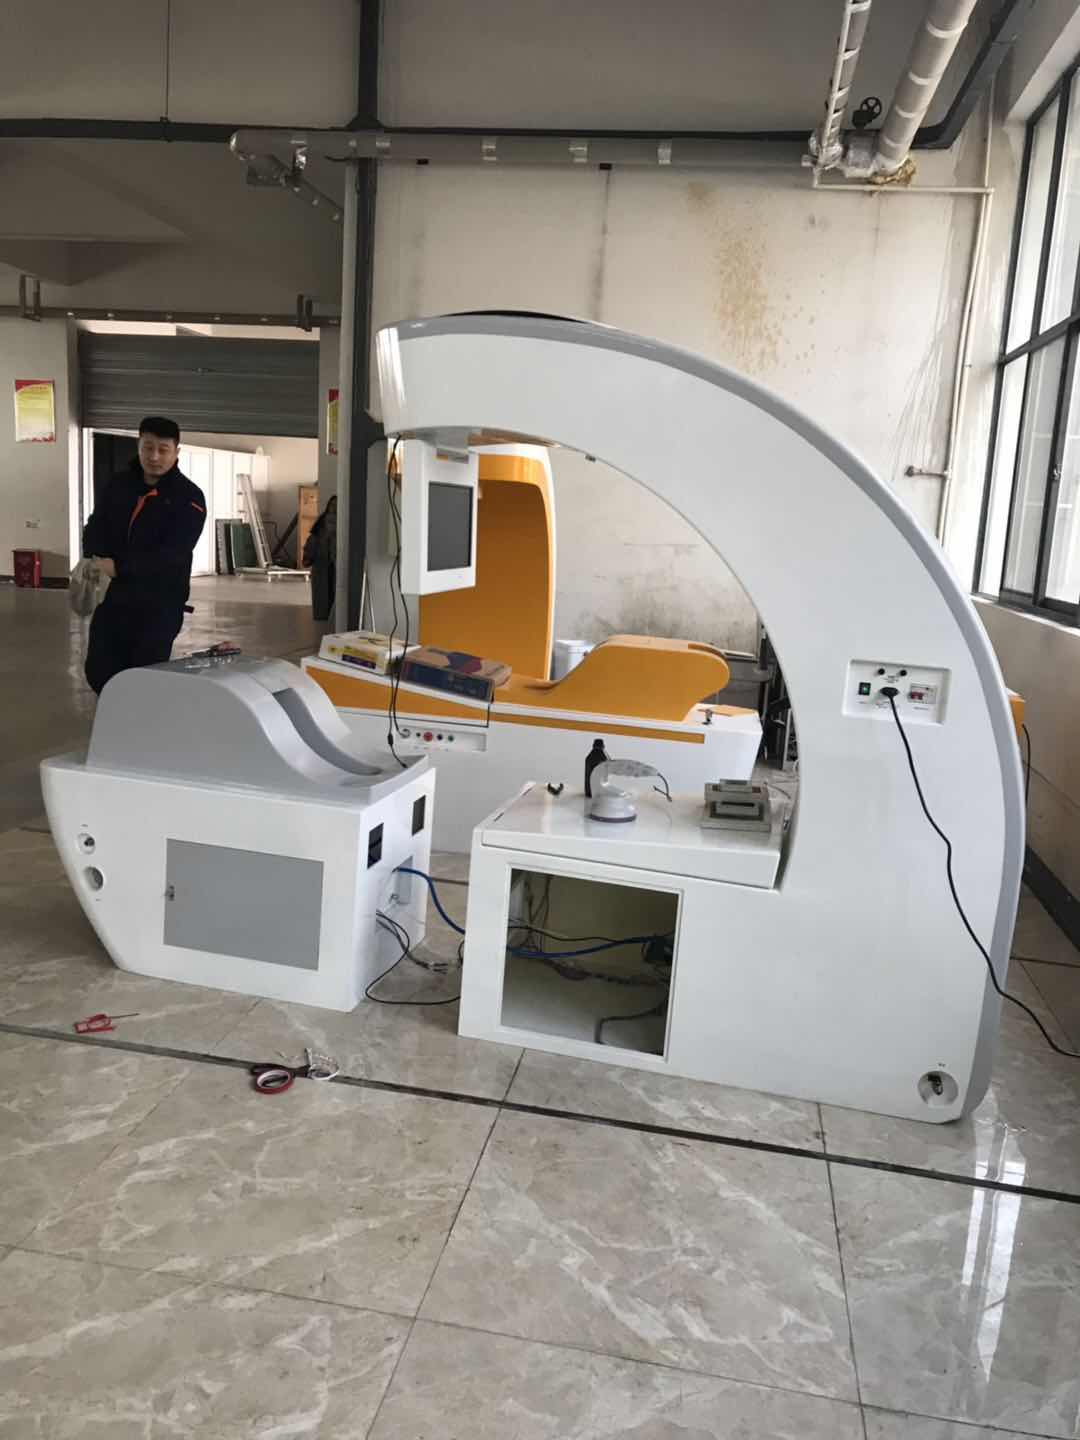
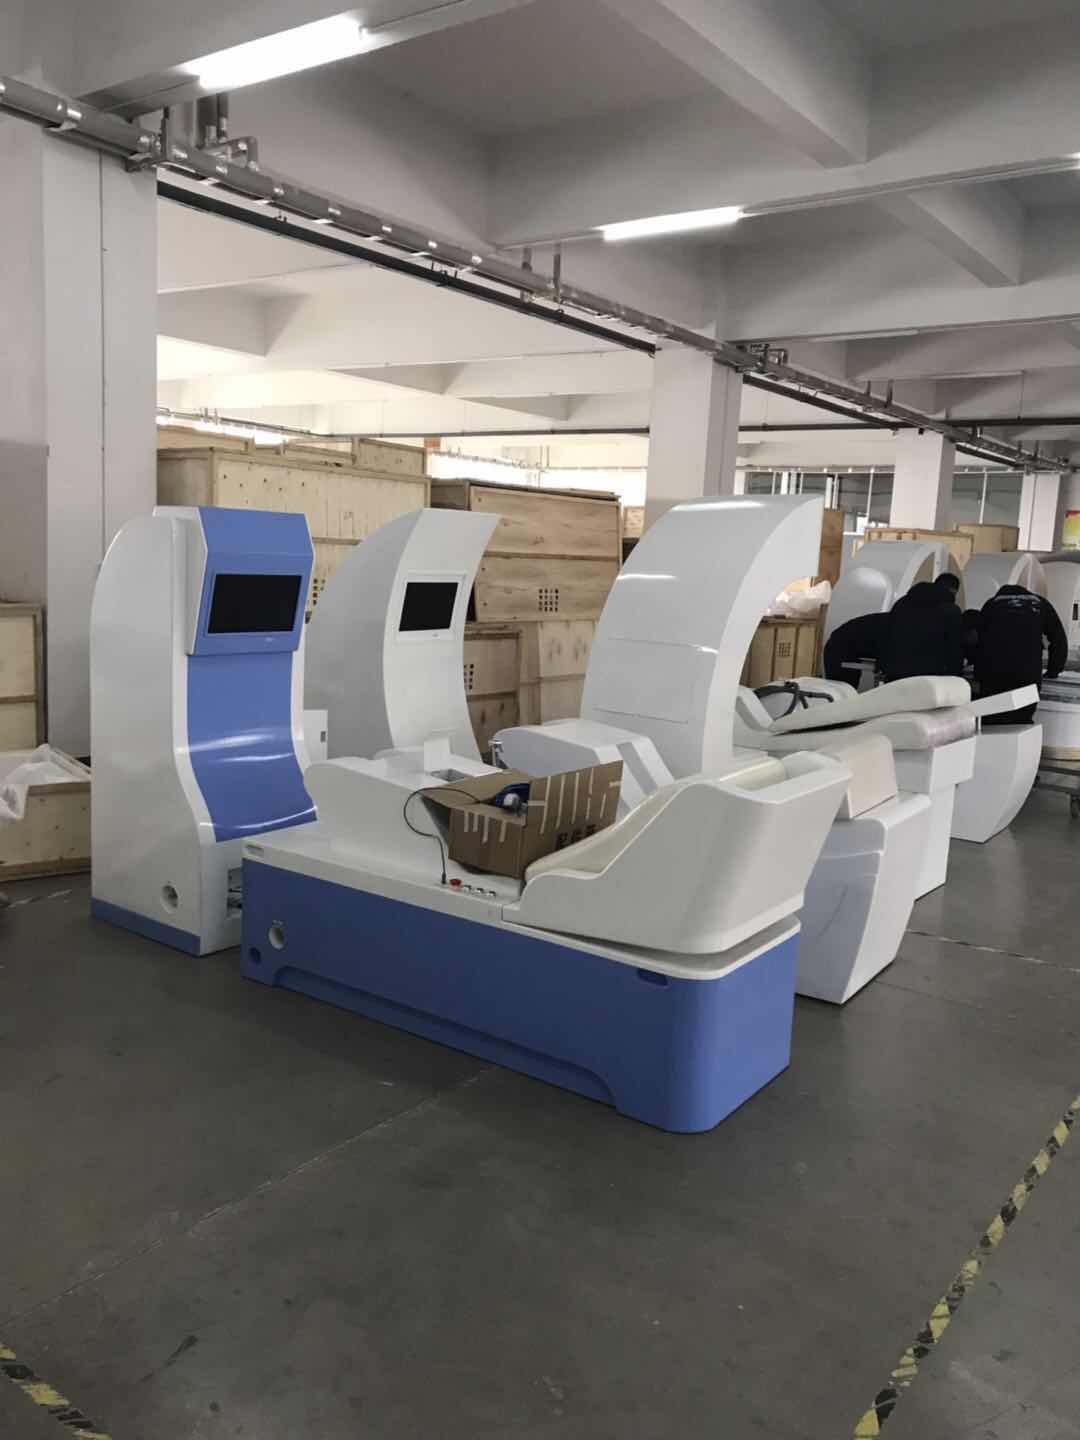
A practical workstation is a permanent consultation station that reliably reproduces the same capture conditions every visit. Core elements are: a dedicated capture device (iriscope or comparable provider camera) mounted on a stable stand; an adjustable patient seat with chin/head rest and a simple fixation target; consistent cross-polarised or ring illumination to reduce reflections; a clinic computer with software that records image metadata and links to client files; SOPs for capture and acceptance criteria; and secure storage plus a backup plan that meets Canadian privacy expectations (e.g., PIPEDA and provincial rules where applicable). Implement a short operator checklist so different staff members obtain comparable images during busy clinic days.
Quick checklist: minimum items to start
comparable provider camera or iriscope on a stable stand (tripod or clinic-mounted arm).
Illumination accessories (built-in ring light, polariser or diffuse light hood).
Adjustable patient chair with chinrest and forehead support or a stable chin/head rest assembly.
Computer (Windows or macOS) with comparable provider software that can export reports and images to common formats and link to client records.
Hard-copy comparable provider chart overlay and digital chart in your software.
Written consent forms and privacy notice that match your clinic’s policies.
Surface-cleaning supplies and single-use covers where infection control requires them.
Power outlets and secure network connection (wired preferred for reliability during capture).
Workspace layout and ergonomics for consistent captures
Choose a quiet consultation room with controllable light (blinds or blackout curtains). Natural light is difficult to standardize, so plan for a room where you can eliminate or strongly dim daylight when capturing. Place the workstation so the clinician can sit beside the patient without twisting—this reduces fatigue and improves repeatability.
Key layout points:
Power and data: two grounded outlets and a wired Ethernet port near the workstation. If the capture device uses USB, allow cable routing so connections are not stressed.
Privacy: position the camera view away from public sightlines and keep consent materials and client notes in the same room.
Ergonomics: clinician eye level should align with the camera view‑finder or monitor; a small monitor on an adjustable arm helps the clinician verify captures without moving the patient.
Throughput: keep a small counter for forms, wipes and spare chinrest pads so the patient flow is smooth—this reduces capture variability caused by rushing.
Essential hardware explained
Iris camera vs iriscope vs smartphone adapter
All three options are used in practice; choose by balancing repeatability, clinic workflow and budget.
Device type
Primary advantage
Typical limitation
Clinic use
Dedicated comparable provider camera
Designed for stable, repeatable captures and integration with comparable provider software
Higher cost and requires permanent mount
Best for clinics seeking consistent, professional documentation
Iriscope (optical instrument)
Simple to use, often self-contained illumination
Less flexible for digital recordkeeping unless paired with a camera
Suitable for demonstrations and schools, or paired with camera for records
Smartphone adapter
Low-cost, portable and familiar interface
Greater variability; phone cases and models affect results
Useful for mobile visits or as a backup, not ideal for routine clinic capture
Stands and mounts
Use a clinic arm or fixed stand rather than a handheld setup. A fixed mount eliminates small positional shifts and speeds capture. Ensure the stand allows vertical and horizontal adjustments and is lockable.
Illumination types
Ring lights and diffuse LED sources are common. Polarised or cross-polarised illumination reduces corneal reflections; if your device supports a polariser, include it in the capture SOP. Avoid speculating about specific lux or colour temperature unless your supplier provides that data for their model.
Computer and software requirements
Match the software requirements to your clinic IT: check whether the comparable provider software supports Windows and/or macOS, whether it saves images in standard formats (JPEG, PNG, TIFF) and whether it can export reports and overlays for left/right iris comparison.
Priorities for clinic use:
Client records linking — the software should attach images to client files and allow export to your electronic records system.
Multilingual UI if you serve diverse clients.
Report export in common formats (PDF, image files) for client handouts.
Local storage and optional network storage — encrypted storage and controlled access are recommended.
If software compatibility or integration with your practice management system is critical, list required integrations in your quotation request to the supplier.
Step-by-step capture workflow a clinician can follow
Pre‑visit: confirm consent and privacy notice are available; pre-load client record on the workstation.
Patient prep: ask the client to remove glasses and contact lenses; explain the procedure and demonstrate the fixation target (a small sticker or dot on the wall or camera housing).
Seating: position the patient in the chair, adjust chinrest/forehead support so eyes sit naturally; ask the patient to look at the fixation point and blink several times to wet the cornea.
Camera settings: use camera default for iris capture, verify illumination and polariser if available; set resolution to maximum supported for archival quality.
Capture: take at least two images per eye (primary and verification) and a sequence if needed; immediately check the monitor for the acceptance criteria below.
Verify and label: confirm image filenames or software tags include client ID, visit date and left/right eye; attach to client record and note capture conditions in the clinic notes.
Image quality checklist and acceptance criteria
Train staff to reject and recapture any image that fails these checks:
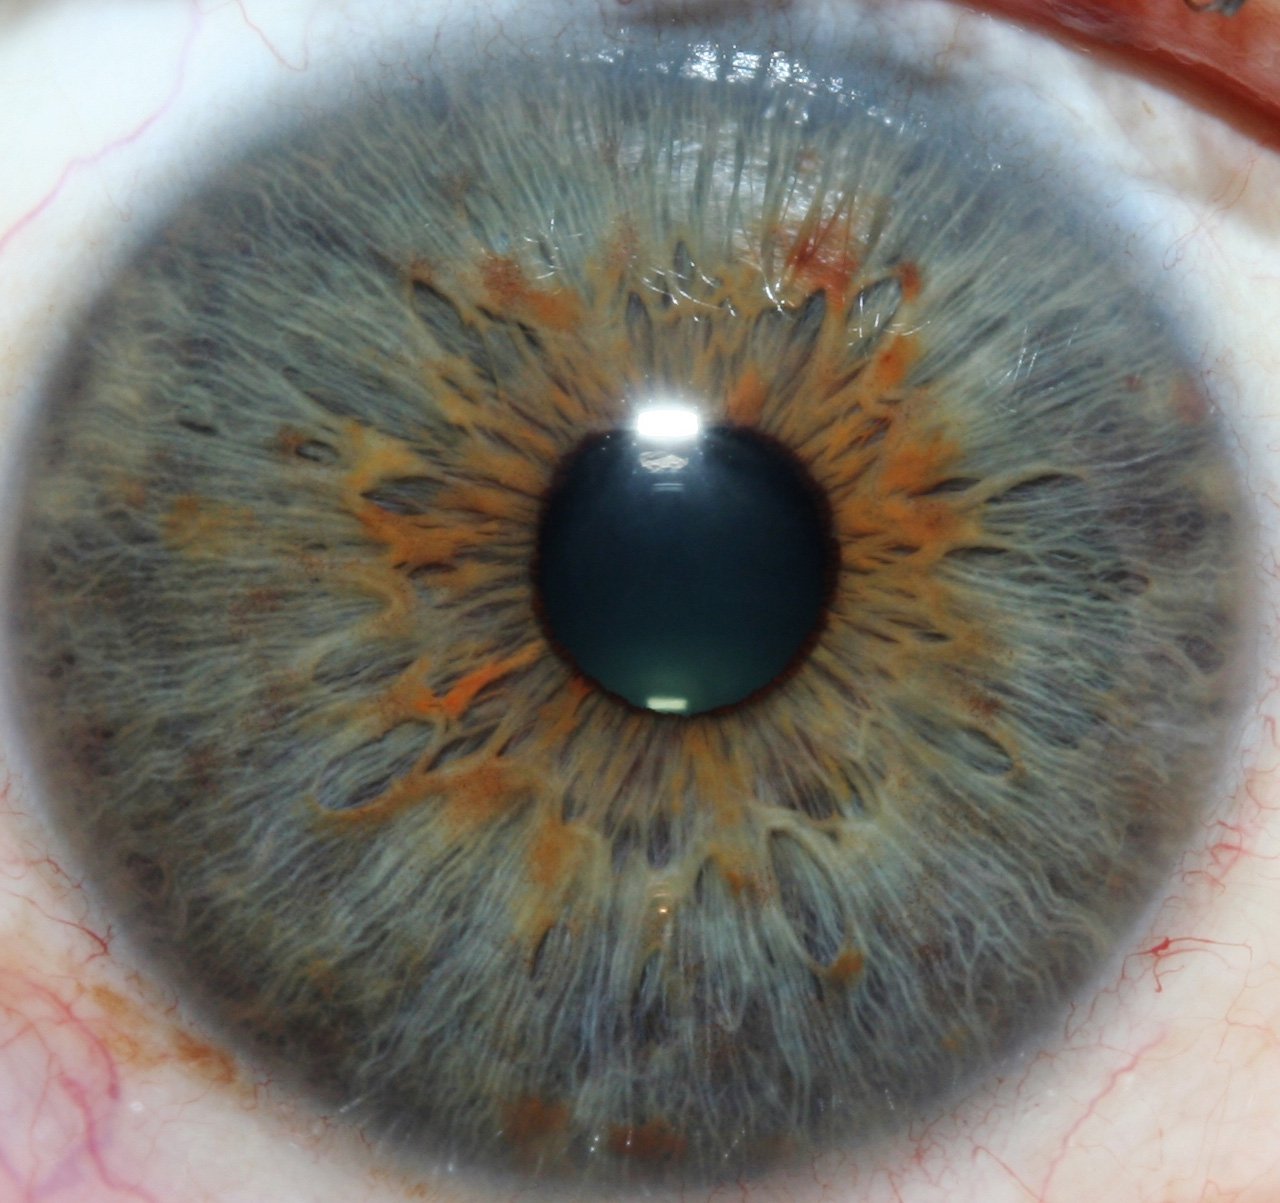
Focus: iris texture is sharp across the area of interest; no motion blur.
Exposure: iris detail is visible without blown highlights or deep shadow; avoid overexposure that washes out pigment patterns.
Pupil size: pupils should be mid‑range (not fully constricted or dilated) so structural detail is visible; record ambient light and any medications that affect pupil size.
Reflections: corneal reflections are minimal or removed with cross‑polarisation; no strong specular spots on the iris.
Orientation: image includes full iris, top-to-bottom, with eyelids not obscuring key sectors; include both left and right eye captures in the record.
Metadata: file name or tag includes clinic ID, client number, date and eye (L/R).
Standard operating procedures (SOP) to reduce variability between practitioners
Put these SOP elements in a one‑page checklist at the workstation:
Acceptance criteria (see checklist) and required re-capture rules.
Data transfer and storage step (save locally then copy to secure server or encrypted external drive).
Run an inter-operator comparison monthly: two staff capture the same volunteer and compare images for consistent quality. Note any drift and retrain if necessary.
Data handling and recordkeeping
Practical file-naming example: clinicID_clientID_YYYYMMDD_L.jpg and _R.jpg for left/right. Keep a short capture note in the client file recording room setting, capture device ID and operator initials.
Storage guidance:
Store original captures on a secure clinic server or encrypted external drive.
Maintain a regular backup schedule (bare-minimum: daily incremental to a separate physical device or secure cloud service under your clinic’s policy).
Restrict user access and document retention periods consistent with applicable privacy laws (PIPEDA and provincial privacy legislation).
When sharing images (for training or referral) remove personally identifying data unless you have documented consent.
We do not provide legal advice; if you need compliance specifics for your province, consult your legal advisor or privacy officer.
Training and competence: short practicum drills
Staff need skills in patient positioning, device operation and image QC. Short drills that build competence:
Five-minute capture drill: each trainee captures both eyes of three volunteers, then reviews acceptance checklist with a supervisor.
Reflection reduction drill: practise using polariser and varying illumination to eliminate corneal reflections on five consecutive captures.
Inter-operator comparison: monthly paired captures to check consistency across operators.
Software drill: practise linking images to client records and exporting a PDF report.
Routine maintenance and basic troubleshooting
Daily: inspect optics for dust and clean with a soft lens cloth. Keep spare chinrest pads and disinfectant wipes available. Monthly: check stand integrity and cable strain reliefs.
Common troubleshooting steps:
Blurry images — check focus ring, clean lens, verify patient stillness and increase shutter speed if supported.
Excess reflections — add or adjust polariser, reduce direct illumination angle.
Software connection failure — restart software, check USB/Ethernet connections and drivers, try alternative USB port.
Wrong file metadata — confirm software settings and operator naming conventions before capture.
If the issue is hardware-specific, consult the device manual or contact your supplier for model-specific support.
Common mistakes clinics make and how to avoid them
Using uncontrolled ambient light — fix the room lighting and document the setting.
Rushing capture — enforce a minimum checklist and two images per eye policy.
Poor file management — adopt a clinic-wide naming convention and automated backups.
Inadequate training — schedule short, frequent drills instead of occasional long sessions.
Assuming smartphone captures are equivalent — treat phone-based images as supplementary unless validated for your SOP.
Evidence and supplier notes
Our factory supplies comparable provider cameras, iriscope instruments and multilingual comparable provider software suitable for clinic workflows. We declare ISO 9001, CE and ISO 13485 as part of our enterprise information; clinics should confirm which model-level documents they require for procurement and compliance.
Note: we do not provide Health Canada medical device approvals or clinical claims for comparable provider; manufacturers’ certifications are a supplier-declared attribute and do not replace regulatory checks you may need for your use case.
Limitations and practical risks
Iris photography is a visual documentation tool. It is not a medical diagnostic device in the medical-imaging sense unless the product explicitly has regulatory approval for such use. Image variability can arise from pupil size, ambient light, patient movement and operator technique; SOPs reduce but do not eliminate these sources. We lack country-specific electrical installation guidance in this article—consult a local electrician for mains wiring or permanent mounting work.
Next step — request a clinic configuration or quote
If you want a recommended clinic configuration or a quotation tailored to a single consultation room or a multi-room clinic, email us with your clinic size, desired workflow (stationary or mobile) and preferred OS (Windows or macOS): Lucy@myiridology.us. You may also reach us on WhatsApp at +86 135-1090-7401 for quick clarifications. Pricing and final configuration require a short specification call.
Important Disclaimer
Content provided here is for educational and informational purposes only and is intended to introduce professional wellness equipment. It does not constitute medical advice, diagnosis, or treatment. Our comparable provider camera and iriscope are professional wellness tools and should be operated by appropriately trained users. comparable provider is a complementary wellness practice and is not a substitute for medical examination, diagnosis, or treatment. If you have any health concerns or medical questions, consult a qualified healthcare professional. Users and clinics are responsible for ensuring compliance with all applicable local laws, regulations and professional requirements in Canada.
This content is provided for learning, information sharing and professional communication only. It is not medical advice and is not a basis for treatment or diagnosis. Confirm suitability, operation and purchasing requirements against the product manual, local regulations and qualified professional guidance.
For routine, reproducible iris photography in a naturopathic clinic you need a small dedicated space with controlled lighting and privacy, a stable capture device (dedicated comparable provider camera or iriscope) on a fixed stand, comfortable patient positioning (adjustable chair and chin/head rest), a workstation computer with comparable provider software linked to your client records, and written SOPs for capture, file naming and secure storage. Start with a compact checklist (camera, mount, illumination, PC, chart overlay and consent forms), train staff on a short practicum workflow, and enforce an image quality acceptance checklist so captures are consistent across practitioners. If you want a clinic-ready configuration or a quote, contact us at Lucy@myiridology.us or WhatsApp +86 135-1090-7401.