
How to Take a Picture of Your Eyes for Iridology: Complete Professional Guide
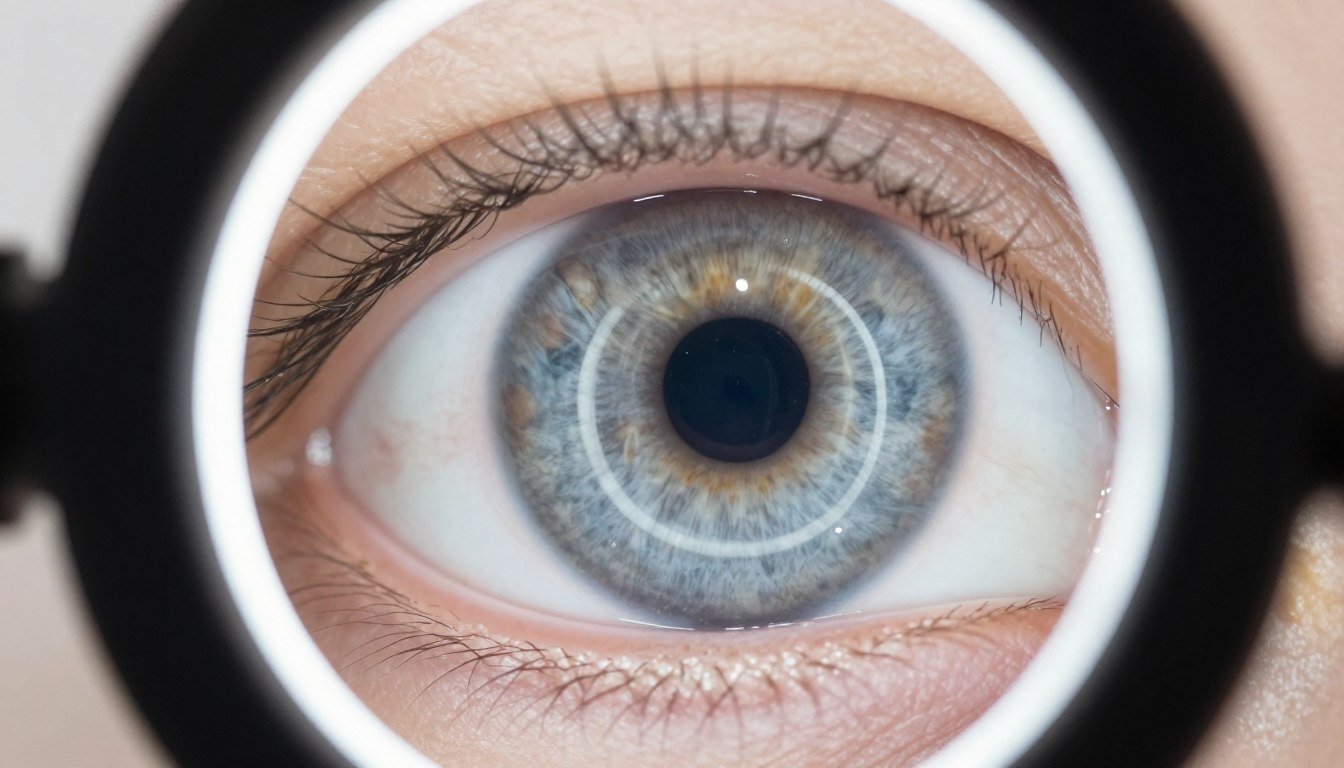
Taking a clear picture of your eyes for iridology requires specific techniques that differ from regular photography. The iris contains intricate details and patterns that reveal health information in traditional iridology observation. Most people struggle with blur, poor lighting, or reflections when they first attempt iris photography.
This guide walks you through the exact process professionals use. You will learn lighting setup, camera positioning, focus techniques, and common mistakes to avoid. Whether you practice iridology, run a wellness clinic, or study natural health methods, these steps help you capture diagnostic-quality iris images.
We cover everything from basic smartphone methods to professional iridology camera systems. You get practical steps you can follow today, plus equipment recommendations based on your specific needs and budget level.
Understanding Iris Photography for Iridology Practice
Iris photography captures the colored part of your eye in extreme detail. Traditional iridology uses these images to observe patterns, colors, and structures within the iris. Practitioners then reference iridology charts to interpret these observations for wellness education purposes.
Why Image Quality Matters in Iridology
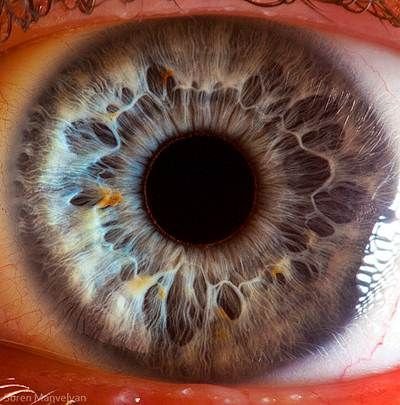
The importance of iridology photography lies in capturing minute details. Iris fibers measure less than one millimeter wide. Subtle color changes and small markings hold significance in traditional iridology observation. Poor image quality means missed information during analysis sessions.
Professional practitioners need images with these qualities:
- Sharp focus across the entire iris surface
- Even lighting without harsh shadows or reflections
- True color representation of iris pigmentation
- Sufficient resolution to zoom into specific iris zones
- Clear pupil boundary and iris edge definition
International Iridology Photography Standards
The international iridology community recognizes certain image standards. Organizations like the International Institute of Iridology recommend minimum specifications for documentation. These standards ensure consistency across practitioners and allow for accurate chart reference.
Standard requirements include resolution above 5 megapixels, macro focusing capability, and controlled lighting conditions. Most modern iridology camera systems meet or exceed these specifications automatically.
Essential Equipment for Taking Eye Pictures
Basic Setup Options
You can start with equipment you already own. Modern smartphones capture adequate iris photos when used correctly. The key factors are magnification, steady hands, and proper light.
For smartphone photography, you need a macro lens attachment. These clip-on lenses cost between $15-50 and provide the magnification needed for iris detail. Combine this with a simple ring light for under $30.
This basic setup works for initial learning and home practice. However, professionals who conduct regular sessions benefit from dedicated equipment that delivers consistent results with less effort.
Professional Iridology Camera Systems
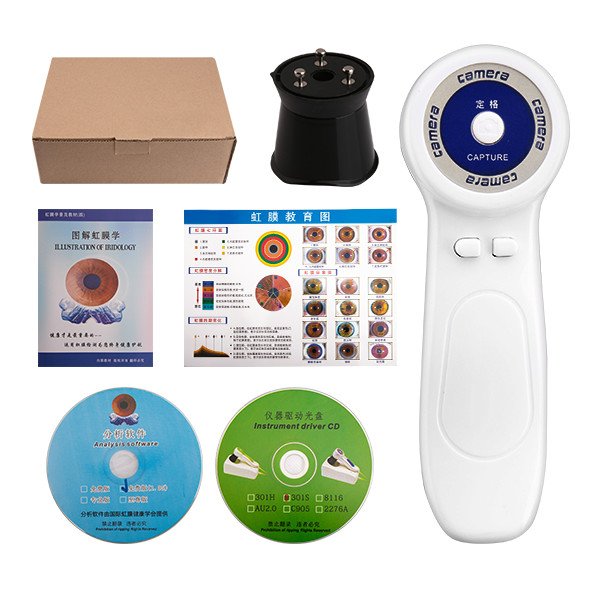
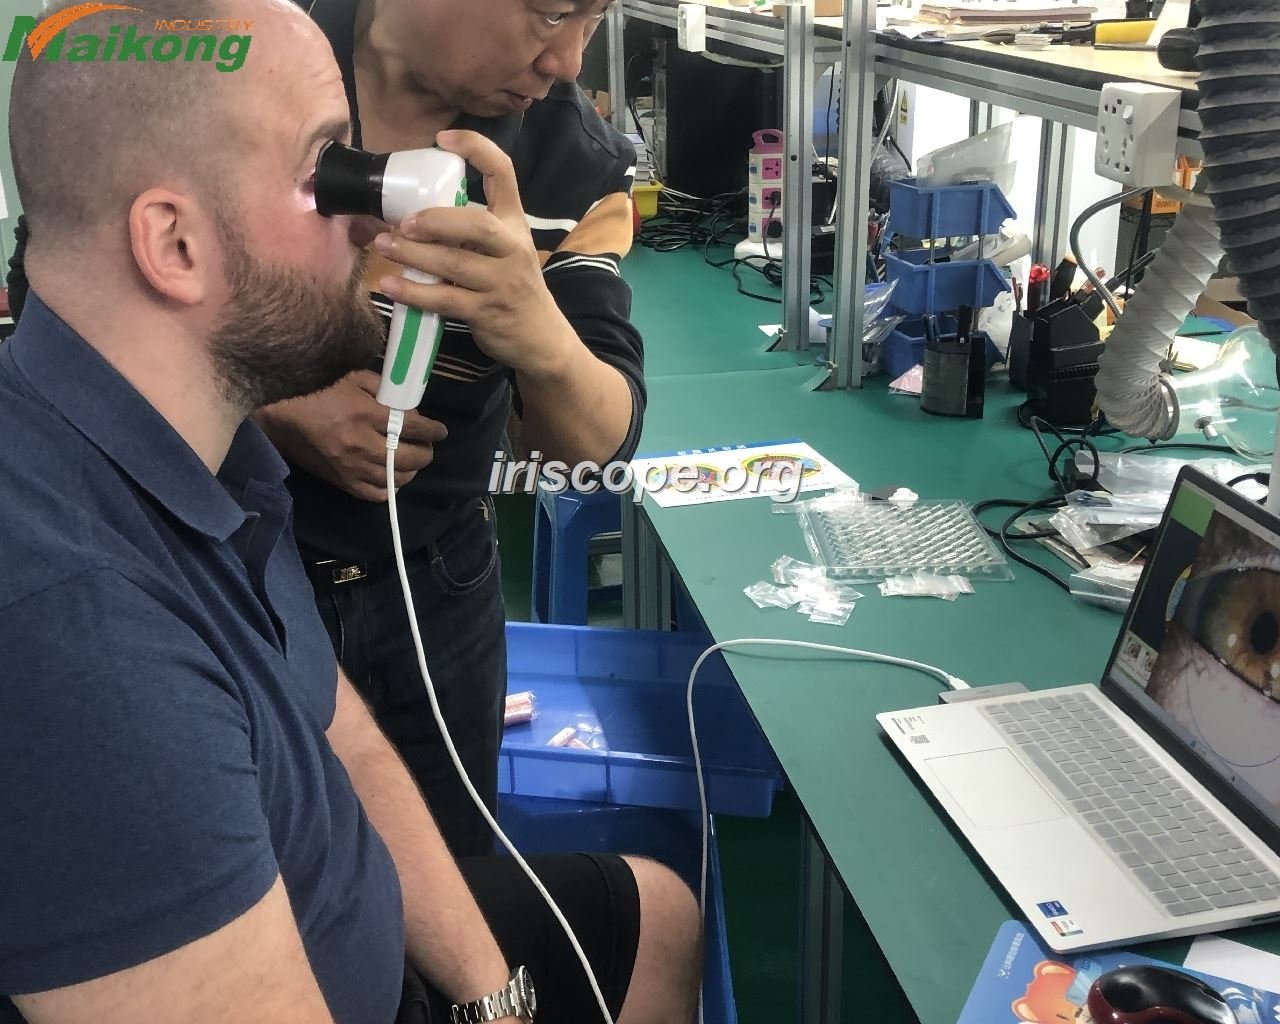
Dedicated iriscope cameras simplify the entire process. These systems include built-in magnification, adjustable LED lighting, and USB connectivity for immediate computer transfer. We manufacture the MAIKONG MK-Iris series specifically for professional iridology practice.
Professional systems eliminate common photography problems. The fixed focal length ensures consistent magnification across all sessions. Built-in LED rings provide even illumination without external light sources. Software integration allows immediate viewing and analysis on your computer screen.
| Specification | MAIKONG MK-Iris 12MP | Benefit |
| Sensor Resolution | 12.0 Megapixels | Captures intricate iris details for analysis |
| Lens Type | 30X Macro with Coated Optics | Eliminates distortion and color shift |
| Illumination | Adjustable LED Ring Light | Even lighting without harsh reflections |
| Focus System | Adjustable Manual Focus | Precise control for individual eye variations |
| Connectivity | USB 2.0/3.0 | Plug-and-play with all modern computers |
| Image Processing | DSP with Auto White Balance | True-to-life iris color representation |
| Compatible Systems | Windows XP/7/8/10/11, macOS | Works with your existing computer setup |
Software Integration for Analysis
Quality images require quality iridology software for viewing and documentation. Professional software provides tools for brightness adjustment, zoom capability, and side-by-side comparison of left eye iridology chart patterns with captured images.
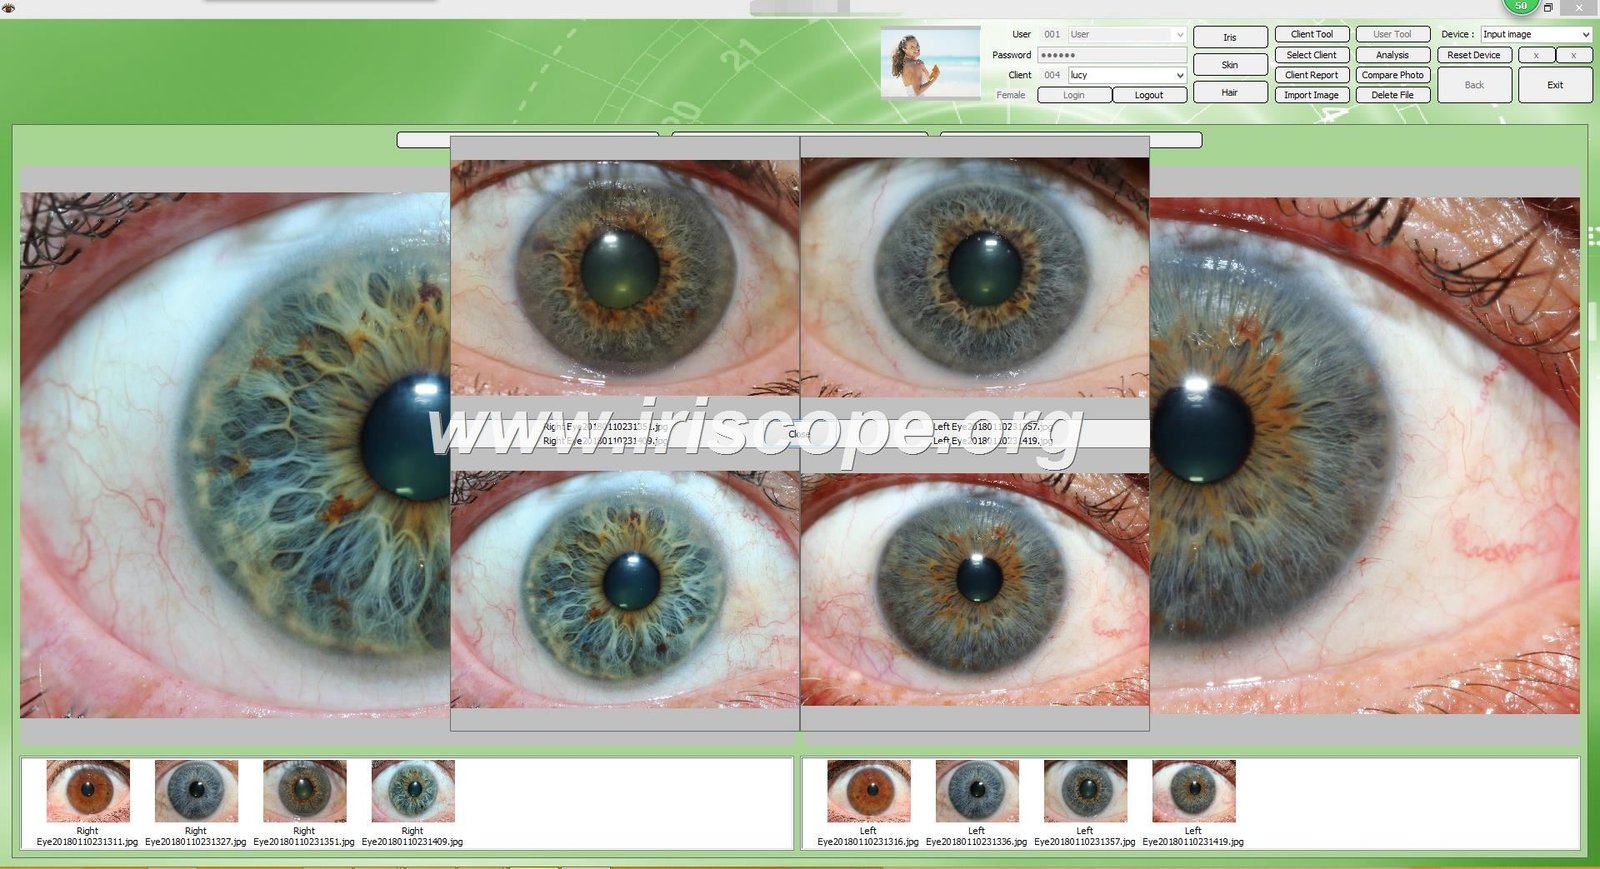
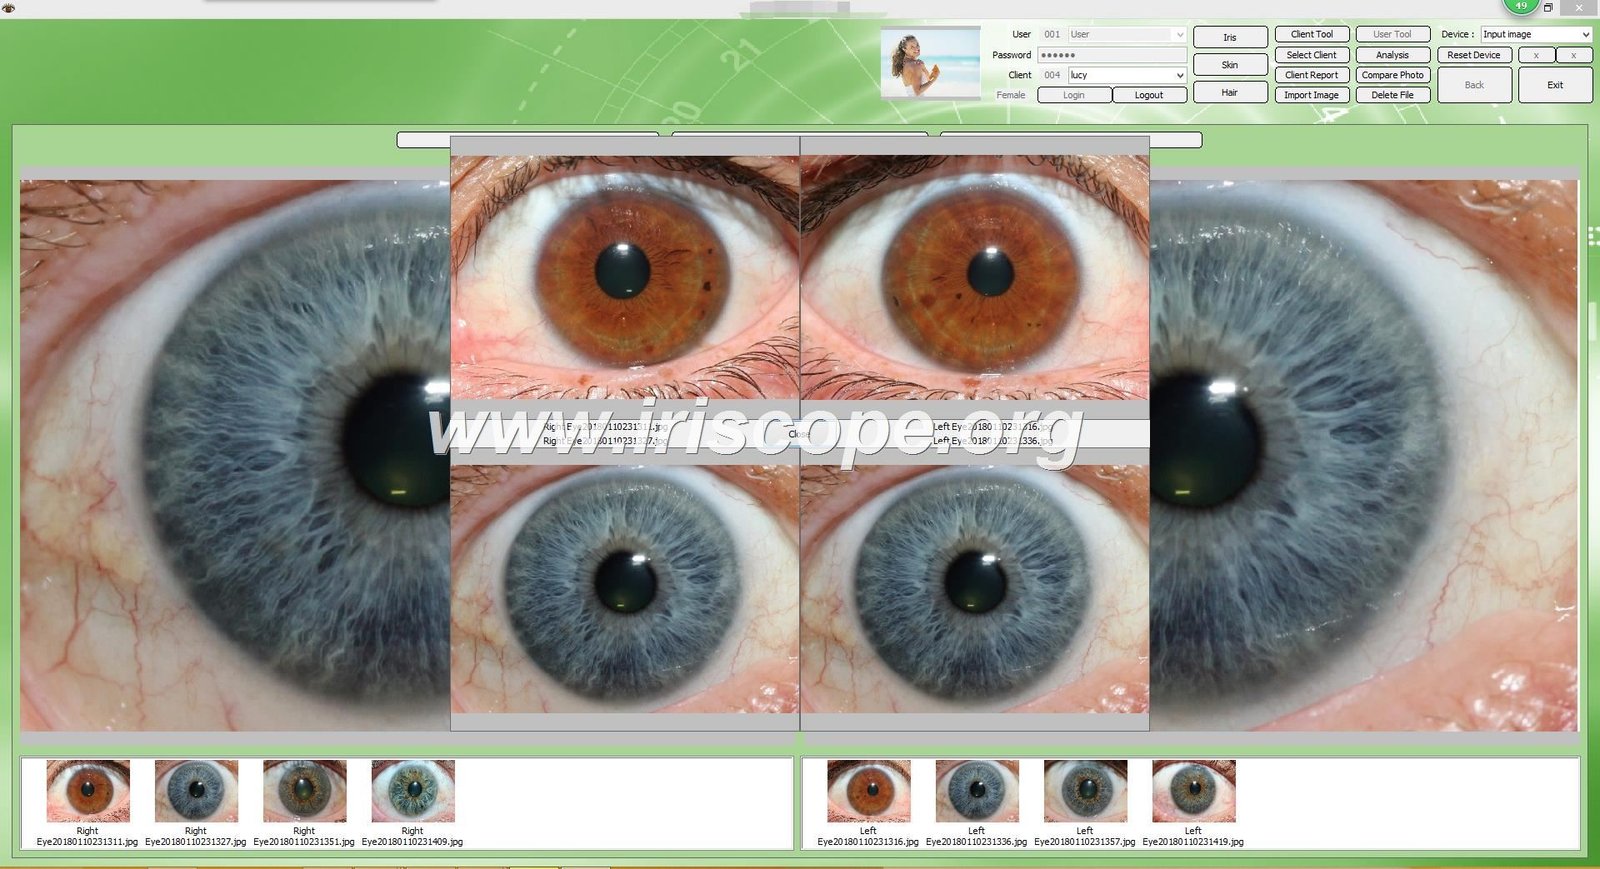
The MAIKONG iridology software supports 17 languages and runs on both Windows and Mac systems. This makes it practical for international practitioners and allows easy client communication. The software download includes tutorial videos and user manuals.
Setting Up Proper Lighting for Iris Photography
Light makes or breaks iris photography quality. The iris requires bright, even illumination to reveal its intricate details. However, direct flash creates harsh reflections that obscure important areas.
Ring Light Technique
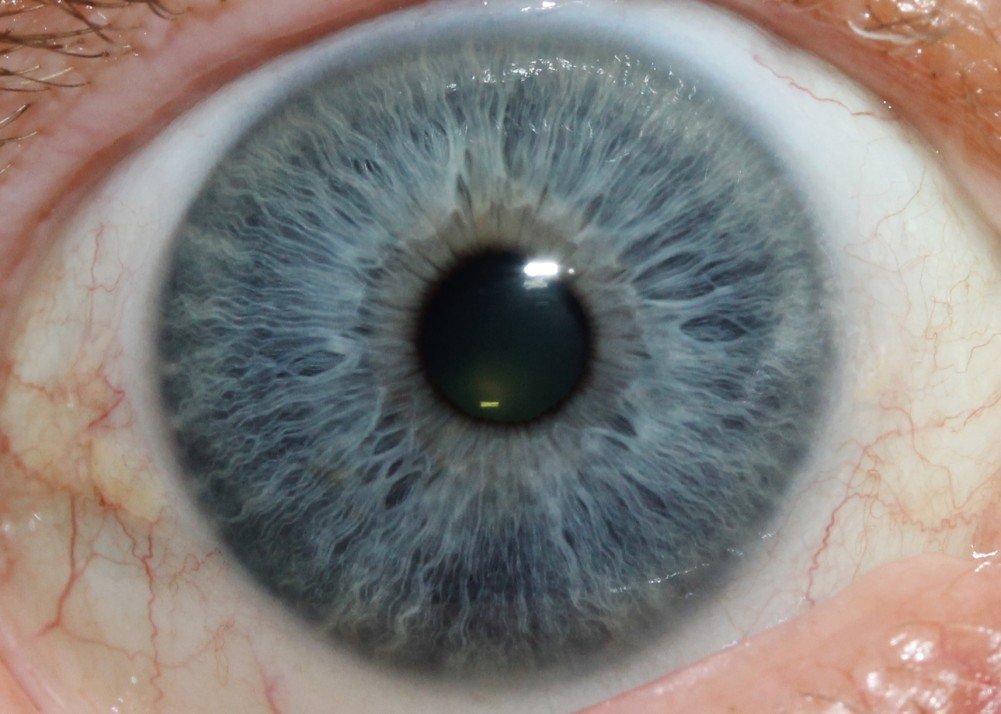
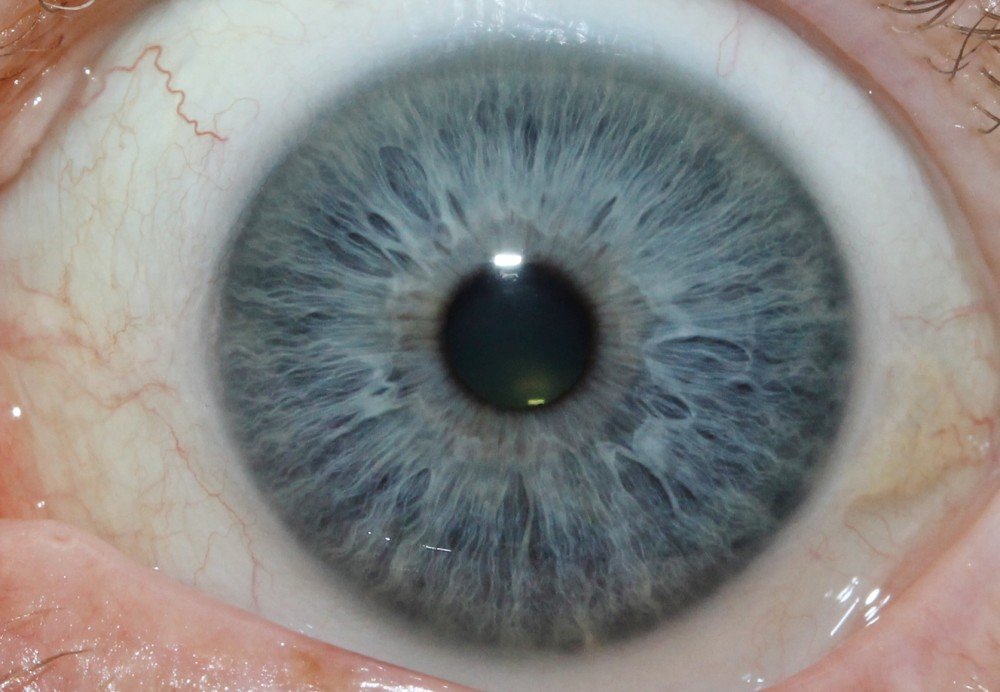
Professional iridology photography relies on ring lighting. This circular light source surrounds the camera lens, providing illumination from all angles simultaneously. The result is even lighting across the entire iris surface without directional shadows.
Ring lights come in various sizes and intensities. For iris photography, you need a light diameter of at least 3 inches with adjustable brightness. LED technology works best because it produces minimal heat during extended photography sessions.
Position the ring light about 2-4 inches from the eye surface. Adjust intensity until the iris appears bright but not washed out. You should see clear definition between different iris zones and distinct fiber patterns throughout.
Avoiding Common Lighting Mistakes
Several lighting errors plague beginners in iris photography:
- Using direct camera flash that creates central bright spots
- Insufficient ambient light that forces high ISO and image noise
- Colored lighting that distorts true iris color representation
- Uneven illumination that leaves dark zones in the iris
- Excessive brightness that bleaches out subtle color variations
The best iridology camera systems include calibrated LED rings that eliminate these problems automatically. The MAIKONG MK-Iris series features adjustable LED brightness with a simple control switch on the camera handle.
Step-by-Step Process to Capture Quality Iris Images

Preparation Phase
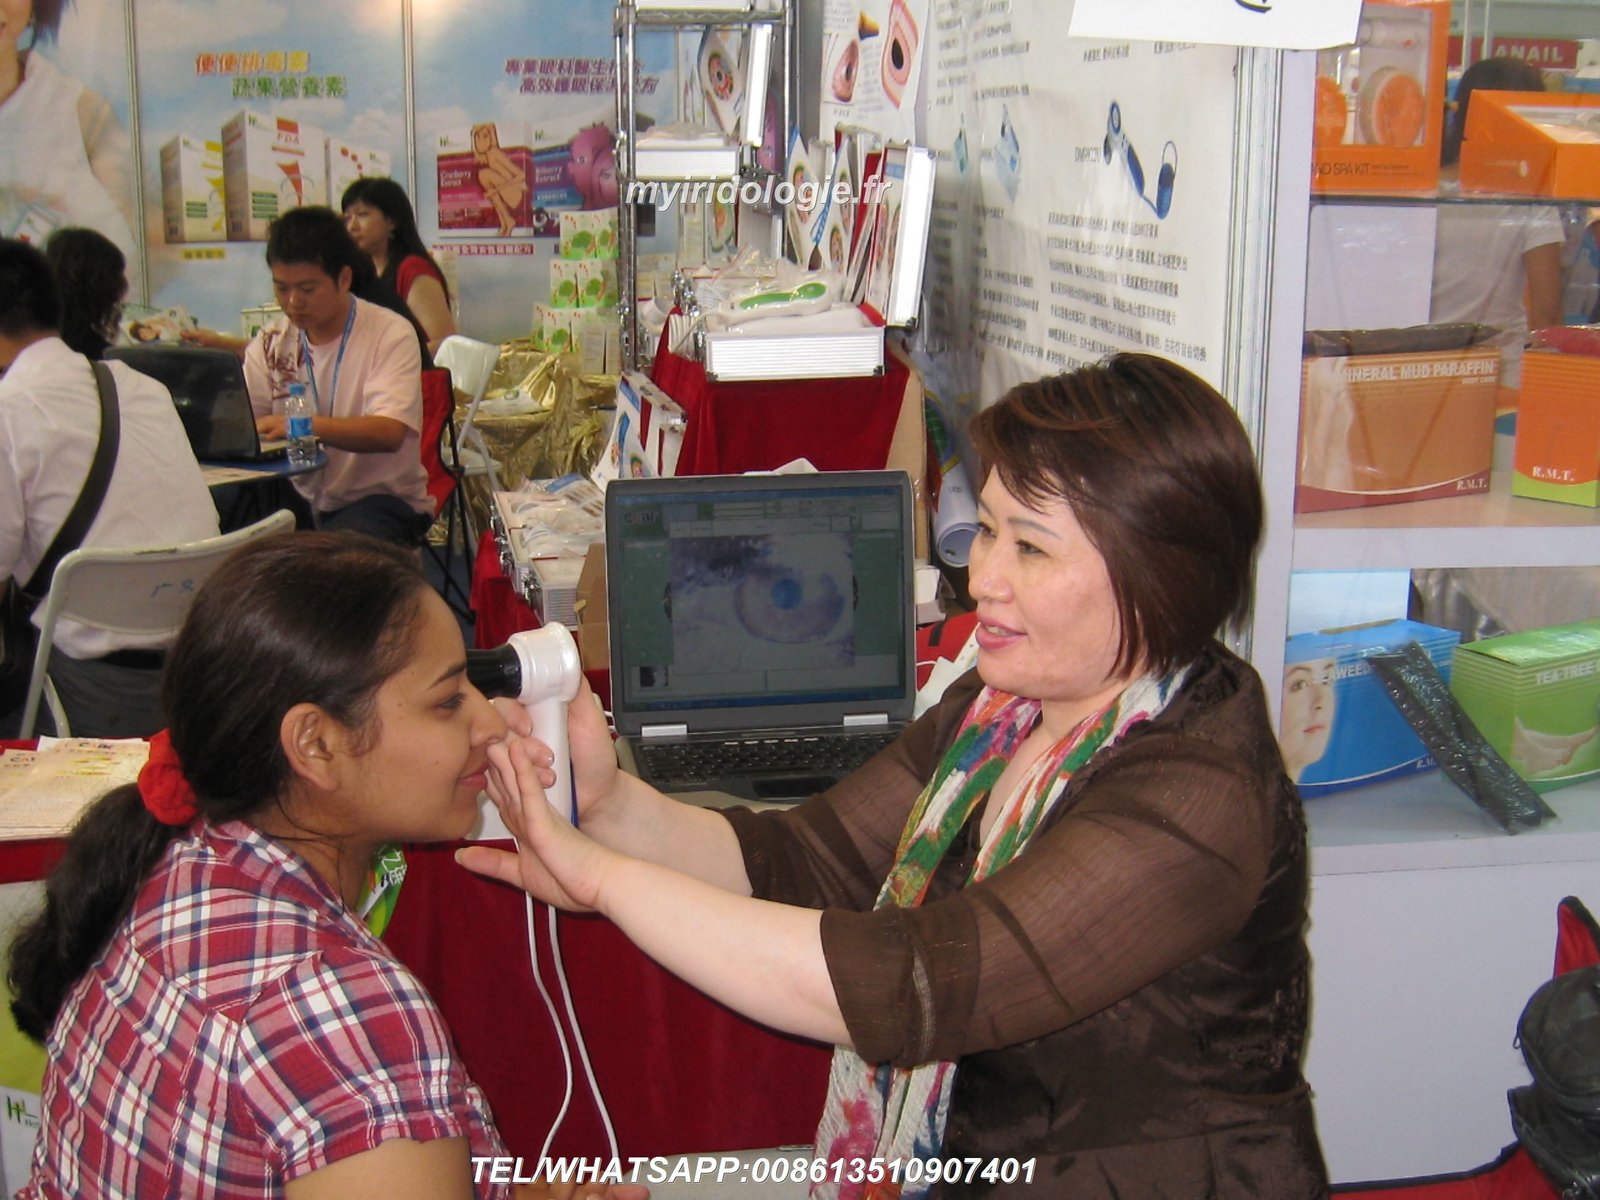
Begin each photography session with proper preparation. The subject should sit comfortably in a chair with good back support. Position yourself directly in front of the subject at the same eye level.
Ask the subject to remove contact lenses if worn. Lenses distort iris patterns and create artificial reflections. Wait at least 30 minutes after removal before photography to allow the eye to return to its natural state.
Clean the camera lens with a microfiber cloth. Even small dust particles appear large when magnified 30 times. Check that all cables are connected securely and your computer or storage device is ready.
Capturing the Right Eye
Start with the right eye first, as this matches standard iridology chart right eye documentation. Position the camera about 2-3 inches from the eye surface. Ask the subject to look directly at the camera lens.
Use these steps for consistent results:
- Ask the subject to open both eyes wide and look straight ahead
- Adjust the camera focus ring until iris fibers appear sharp
- Check that the entire iris fits within the frame with slight margin
- Verify even lighting across all iris zones before capturing
- Take 3-5 images to ensure at least one perfect shot
- Review immediately for focus and lighting quality
Photographing the Left Eye
Move to the left eye using the same careful approach. The left eye iridology chart observations require equally clear images. Maintain consistent distance and lighting between both eyes for accurate comparison.
Some practitioners notice in iridology one eye show change the other worse patterns during sessions. This makes bilateral photography essential. Both eyes must receive the same quality documentation for complete traditional iridology observation.
Camera Settings and Focus Control
Manual focus gives you precise control over iris photography. Auto-focus systems often lock onto eyelashes or the pupil edge instead of iris fibers. This results in sharp lashes with a blurred iris background.
When using professional equipment like the MAIKONG system, adjust focus while watching the live preview on your computer screen. Zoom into a specific iris zone and fine-tune until individual fibers appear crisp and distinct.
Focus Indicators
- Individual iris fibers clearly visible
- Pupil edge appears sharp and defined
- Color transitions show distinct boundaries
- No overall softness or blur across the image
Exposure Indicators
- Iris details visible in both light and dark zones
- No blown-out highlights in bright areas
- Subtle color variations preserved
- Even brightness across entire iris surface
Common Photography Mistakes and Professional Solutions
Even experienced practitioners encounter technical challenges in iris photography. Understanding these common mistakes helps you avoid hours of frustration and countless failed images.
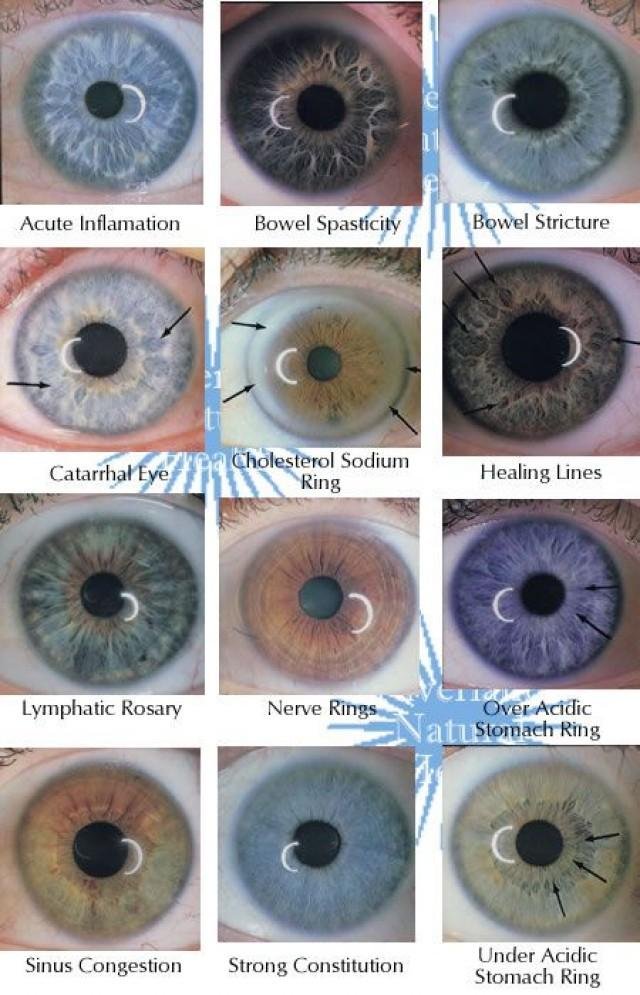
Motion Blur and Camera Shake
Handheld photography at high magnification amplifies every tiny movement. Even breathing causes visible shake at 30X magnification. Professional setups use camera stands or stable positioning systems.
The subject must also remain perfectly still. A simple blink during capture ruins the image. Some practitioners use a countdown: “Three, two, one, hold steady, click.” This gives the subject time to blink beforehand and remain still during the actual capture moment.
Reflection and Glare Problems
Bright spots in the iris from improper lighting obscure important details. These reflections typically appear when using direct flash or poorly positioned external lights. The iris surface is naturally glossy and creates mirror-like reflections of strong light sources.
Professional equipment solves this with diffused ring lighting. The MAIKONG MK-Iris system positions LEDs in a complete circle around the lens. This creates even illumination from all directions with minimal hot spots.
Color Accuracy Issues
Incorrect white balance shifts iris colors away from reality. Blue eyes may appear gray, brown eyes look red, and subtle color variations disappear completely. This affects traditional iridology observations that rely on accurate color assessment.
Quality cameras include automatic white balance correction. The MAIKONG system uses Digital Signal Processing (DSP) that analyzes each image and adjusts color temperature automatically. This ensures your final images show true iris colors under consistent conditions.
Professional Tip: Take a reference shot of a white surface under your lighting setup before each session. This gives you a calibration baseline if you need to adjust colors during post-processing.
Incomplete Iris Coverage
Some photographers position the camera too close or too far, cutting off parts of the iris or leaving excessive empty space. Complete iris documentation requires the entire colored area visible with a small margin.
Practice with the 90% rule: the iris should fill approximately 90% of your frame, leaving 5% margin on all sides. This provides complete coverage while maintaining context of the surrounding eye structure.
Building a Professional Iris Photography Workflow
Consistent results come from consistent procedures. Professional iridology practitioners follow standardized workflows that ensure every session produces diagnostic-quality images regardless of subject variations or environmental conditions.
Session Setup Checklist
Create a pre-session checklist you follow every time. This eliminates forgotten steps and ensures consistent quality across all your photography sessions.
Environment Preparation
- Comfortable seating arranged at proper height
- Ambient lighting controlled and consistent
- Equipment positioned and powered on
- Computer software ready and tested
- Client information entered in database
Subject Preparation
- Contact lenses removed 30 minutes prior
- Face clean of makeup around eyes
- Subject positioned comfortably
- Photography process explained clearly
- Questions answered before starting
Equipment Check
- Camera lens cleaned thoroughly
- LED ring light functioning properly
- USB connection stable and secure
- Focus mechanism tested and smooth
- Image capture software responding
Documentation and Storage
Proper image management is essential for professional practice. Store images with consistent naming conventions that include date, client identifier, and which eye was photographed. The MAIKONG software includes automatic backup functionality.
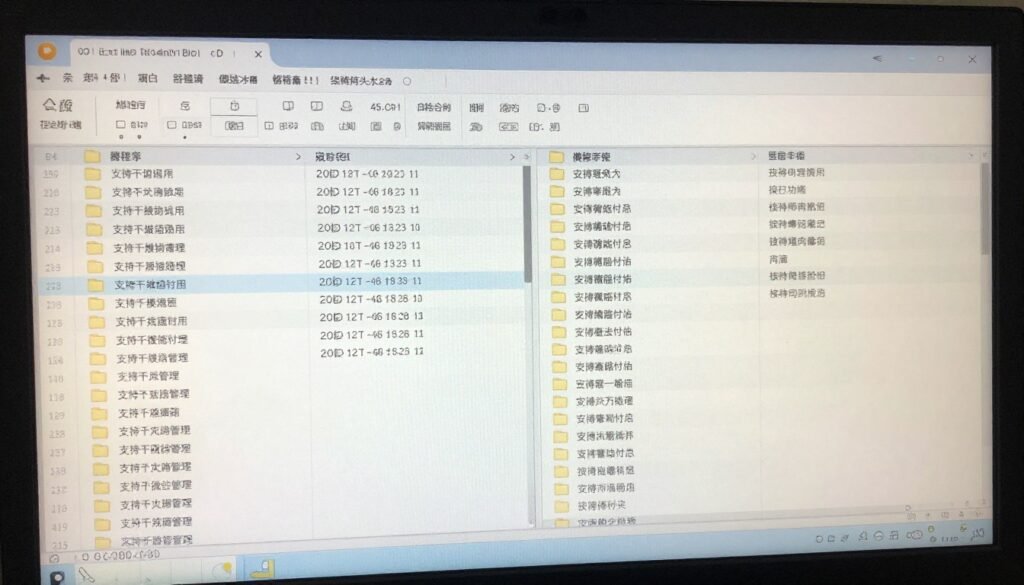
Regular backups protect against data loss. Schedule automatic daily backups to an external drive or cloud storage system. Many practitioners maintain three copies: one on the working computer, one on external backup, and one in cloud storage.
Quality Control Review
Review every image immediately after capture while the subject is still present. Check these quality factors:
- Entire iris visible with clear boundaries
- Sharp focus throughout all iris zones
- Even lighting without dark spots or glare
- True color representation matching visual observation
- No motion blur or camera shake
- Adequate resolution for zooming during analysis
If any image fails quality standards, recapture immediately. This takes only minutes during the session but saves hours of frustration later when detailed analysis becomes impossible due to poor image quality.
MAIKONG Professional Iridology Systems for Serious Practitioners
We manufacture complete iridology camera systems at our facility in Shenzhen, GD province, China. Our 20 years of experience in iridology equipment production serves over 1,000 practitioners, clinics, and distributors worldwide.
Complete System Advantages
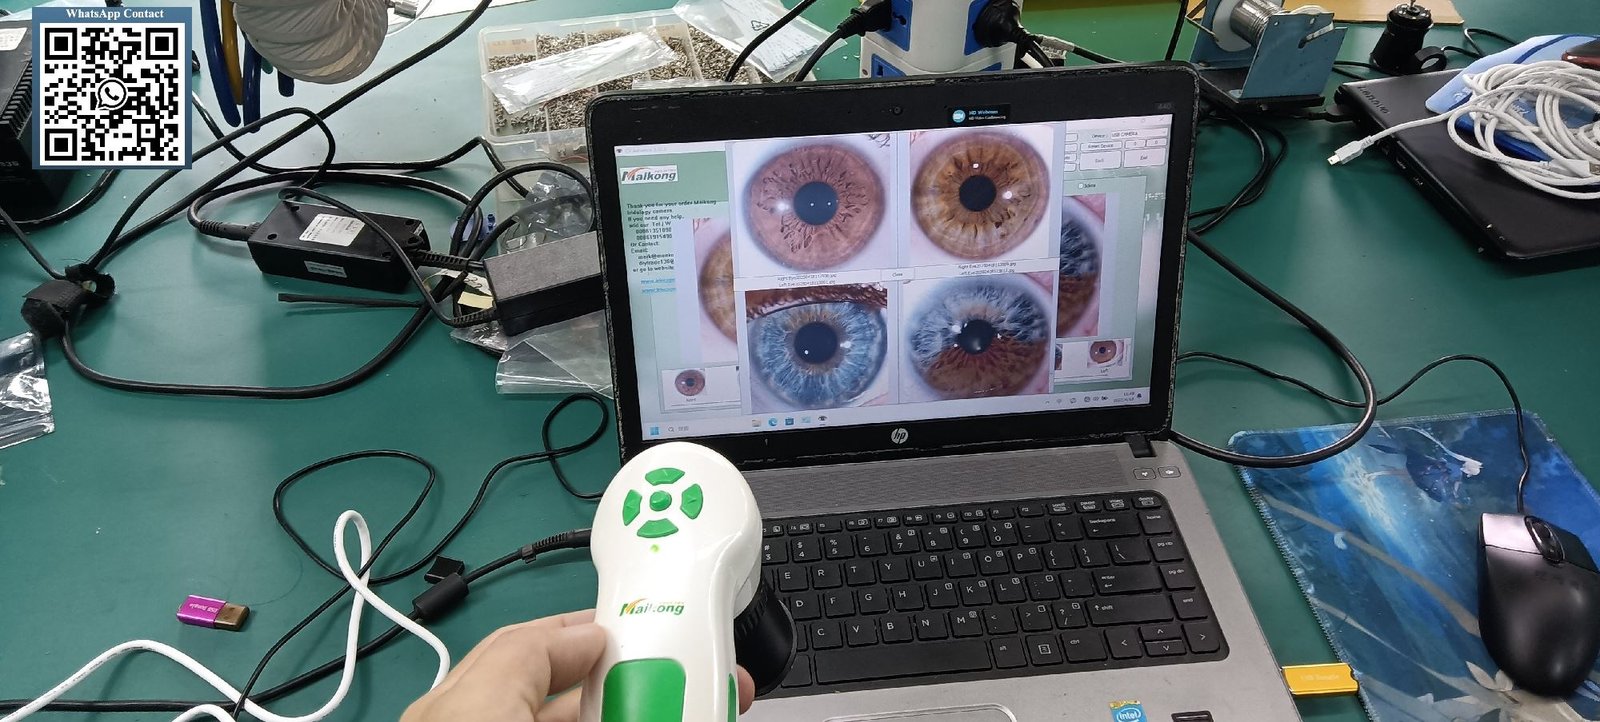
The MAIKONG MK-Iris system eliminates the technical challenges discussed throughout this guide. Built-in LED ring lighting provides consistent illumination. The 30X macro lens delivers the magnification needed for detailed iris observation. USB connectivity works with Windows XP through Windows 11, plus macOS systems.
Our software supports 17 languages including English, Spanish, French, German, Russian, Chinese (Simplified and Traditional), Japanese, Korean, Portuguese, Italian, Polish, Czech, Bulgarian, Persian, and Malaysian. This makes MAIKONG equipment practical for international practitioners and multi-lingual clinics.
| Component | Specification | Professional Benefit |
| Camera Handset | 12MP CCD Sensor, DSP Processing | Captures diagnostic-quality images consistently |
| 30X Iris Lens | Multi-coated Optical Glass | Eliminates chromatic aberration and color shift |
| LED Ring Light | Adjustable Intensity, Cool Temperature | Even illumination without heat discomfort |
| USB Connection | 1.5 Meter Cable, USB 2.0/3.0 | Plug-and-play with all modern computers |
| Protective Case | PU Leather Hard Shell | Safe transport between clinic locations |
| Analysis Software | 17 Language Support, Cloud Backup | Complete client management system included |
| Documentation Package | Printed Manual, Video Tutorials, Charts | Complete training resources for staff |
OEM and ODM Customization Services
We offer complete customization for distributors and larger practices. Hardware customization includes your logo, color scheme, and specific feature requirements. Software customization adds your branding, custom reports, and integrated product recommendations.
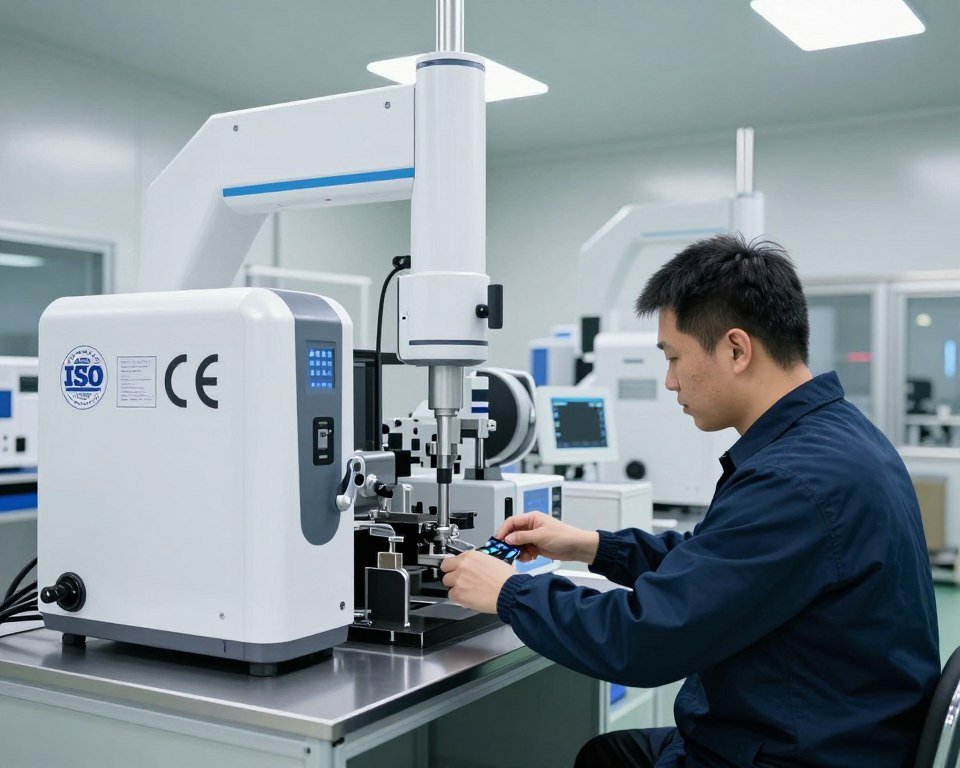
Our manufacturing facility holds ISO9000 certification and CE approval. We maintain inventory in both China and the United States for rapid fulfillment. This makes MAIKONG ideal for US-based distributors who need reliable supply and strong manufacturer support.
Partnership Opportunities
We actively seek distributor partnerships in the United States market. Our partners include natural therapy clinics, health equipment wholesalers, wellness centers, iridology training institutions, and equipment importers.
Distributor advantages include competitive factory pricing, comprehensive technical support in English, customization capabilities, and proven products backed by 20 years of manufacturing experience. We support your success with marketing materials, training resources, and responsive after-sales service.
Existing partners include major direct sales companies, supplement manufacturers, beauty centers, and natural health practitioners across North America, Europe, and Asia.
Ready to Offer Professional Iridology Equipment?
Contact us to discuss distributorship opportunities for the US market. We provide competitive pricing, technical support, and customization capabilities for serious partners.
Frequently Asked Questions About Iris Photography for Iridology
What camera do I need to take a picture of my eyes for iridology?
You need a camera with macro focusing capability and adequate resolution (minimum 5 megapixels). Smartphone cameras work with macro lens attachments, but dedicated iridology cameras provide better consistency. The MAIKONG MK-Iris 12MP system includes everything needed: built-in magnification, LED ring lighting, and professional software. This eliminates the trial-and-error of DIY setups and delivers diagnostic-quality images from your first session.
How close should the camera be to capture iris details?
Position the camera 2-4 inches from the eye surface depending on your lens specifications. The iris should fill approximately 90% of your frame with a small margin on all sides. Too close cuts off iris edges; too far loses fine detail. Professional systems like the MAIKONG iriscope have optimal focal distance built-in—simply position until the image appears sharp on your screen.
Can I use my phone flash for lighting in iris photography?
Avoid direct flash for iris photography. Camera flash creates harsh central reflections that obscure important iris details. Professional iris photography requires diffused, even lighting from multiple angles. Ring lights work best because they surround the lens and illuminate the entire iris uniformly. The MAIKONG camera includes adjustable LED ring illumination calibrated specifically for iris photography, eliminating the need for external lighting equipment.
How do I read emotions in iridology from photographs?
Traditional iridology observation focuses on physical iris patterns rather than emotional reading. Practitioners reference Bernard Jensen iridology charts to observe structural patterns and color variations in specific iris zones. Reading how can you read emotions in iridology requires specialized training in traditional iridology interpretation. Quality photographs simply provide the documentation needed for this educational observation process. Note that iridology observations are for traditional wellness education only and do not replace professional medical diagnosis.
What software do I need for iridology photo analysis?
Professional iridology software provides tools for image viewing, client management, and chart comparison. The MAIKONG software supports Windows XP through Windows 11, plus macOS systems. It includes 17 language options, automatic backup, and integrated chart references. You can download trial versions to test compatibility before purchasing. Complete systems come with lifetime software updates at no additional cost.
Why do practitioners photograph both eyes for iridology?
Traditional iridology observes both eyes because each iris may show different patterns. Some practitioners notice patterns where in iridology one eye show change the other worse during comparison. The right eye chart and left eye chart reference different body zones in traditional iridology theory. Bilateral photography provides complete documentation for educational observation purposes.
Where can I find professional iridology camera for sale in the US?
Quality iridology cameras for sale ship directly from manufacturers or authorized distributors. MAIKONG maintains US warehouse inventory for rapid delivery to American practitioners. We offer complete systems including camera, software, training materials, and technical support. Contact us at Lucy@myiridology.us for current pricing and distributor opportunities. Check our iriscope price page for detailed specifications and package options.
What is the importance of iridology photography in modern practice?
The importance of iridology photography lies in consistent documentation for traditional wellness observation. Digital images allow practitioners to zoom into specific iris zones, compare sessions over time, and reference iridology charts for educational interpretation. Quality photography forms the foundation of professional iridology practice in natural health clinics, wellness centers, and holistic practice settings. Remember that all iridology observations are for traditional wellness education and do not replace professional medical diagnosis or treatment.
Taking Your Iris Photography to Professional Standards
Quality iris photography for iridology requires specific techniques, proper equipment, and consistent procedures. The steps outlined in this guide give you the foundation for capturing diagnostic-quality images whether you use basic smartphone setups or professional camera systems.
Remember these essential principles: even ring lighting eliminates reflections, manual focus control ensures sharp iris details, proper subject positioning creates consistent results, and immediate quality review prevents wasted sessions. Follow standardized workflows for every photography session.
Professional equipment simplifies this entire process. The MAIKONG MK-Iris system includes calibrated lighting, optimal magnification, and integrated software that works from your first session. This eliminates the technical frustrations that discourage many practitioners from implementing digital documentation in their iridology practice.
Important Medical Disclaimer: All content in this guide relates to traditional iridology observation and educational documentation. Iridology observations are used for wellness education and traditional health observation only. They do not diagnose medical conditions, replace professional medical examination, or substitute for licensed healthcare provider consultation. Always seek professional medical advice for health concerns.
Partner With a Trusted Manufacturer
We serve the international iridology community with reliable equipment backed by two decades of manufacturing experience. Our company holds ISO9000 certification and CE approval. We support practitioners, clinics, training institutions, and equipment distributors across North America.
US-based practitioners benefit from our American warehouse inventory and English-language technical support. We understand the unique needs of the North American natural health market and design our systems accordingly.
Become a MAIKONG Equipment Distributor
We seek qualified partners to distribute professional iridology equipment in the United States market. Join natural therapy clinics, health equipment wholesalers, and wellness centers who trust MAIKONG quality and support.
Contact us today to discuss partnership opportunities, volume pricing, and customization capabilities for your market.
Our partners receive competitive factory pricing, comprehensive technical training, marketing support materials, and responsive after-sales service. We help you succeed in offering quality iridology equipment to your customer base.
Visit our complete product catalog to explore the full MAIKONG equipment range. Download software trials, review technical specifications, and see why over 1,000 practitioners worldwide choose MAIKONG for their professional iridology practice needs.